Thrifted DIY Bedside Table makeover : From $15 to fabulous!
Need stylish bedroom decor ideas? Here’s how this thrifted nightstand went from $15 to fabulous with an easy DIY bedside table makeover.
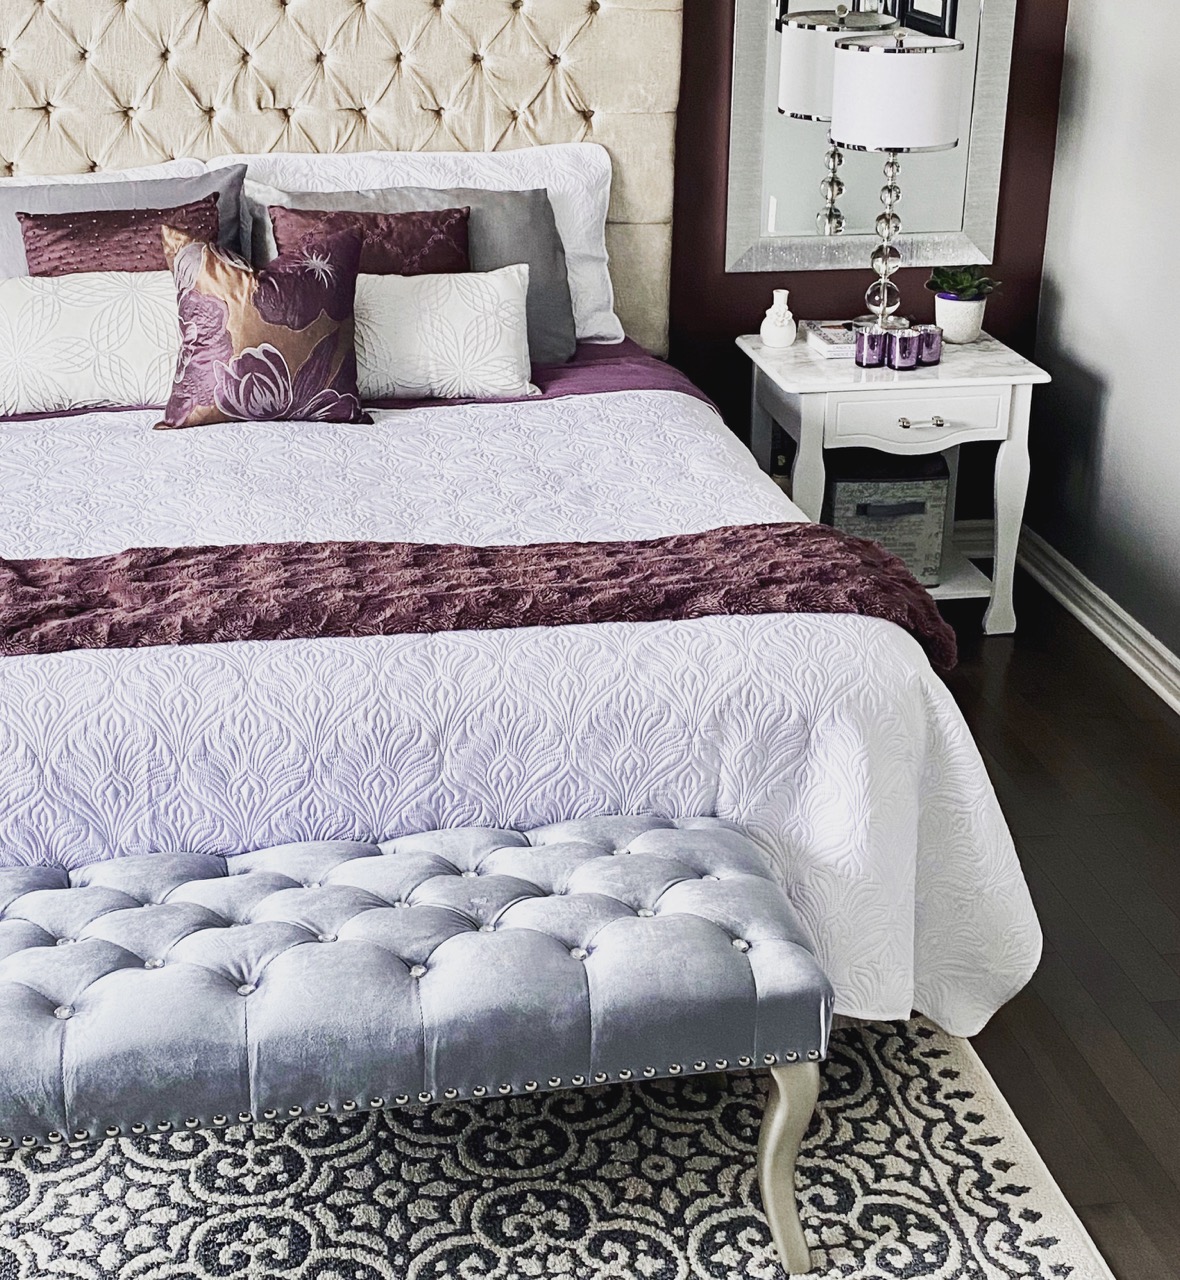
Having given our primary bedroom a dramatic makeover (details below) with a deep plum paint colour, it was time to upgrade our bedside tables.
Sourcing affordable thrifted furniture
When looking for furniture, new doesn’t always have to be “new”. Finding quality thrifted pieces is a cost effective way to furnish your home.
When starting the search for the perfect bedside tables, we headed to our local Habitat for Humanity ReStore. This a great place to find unique gently used furniture that’s ready for your creative touch.
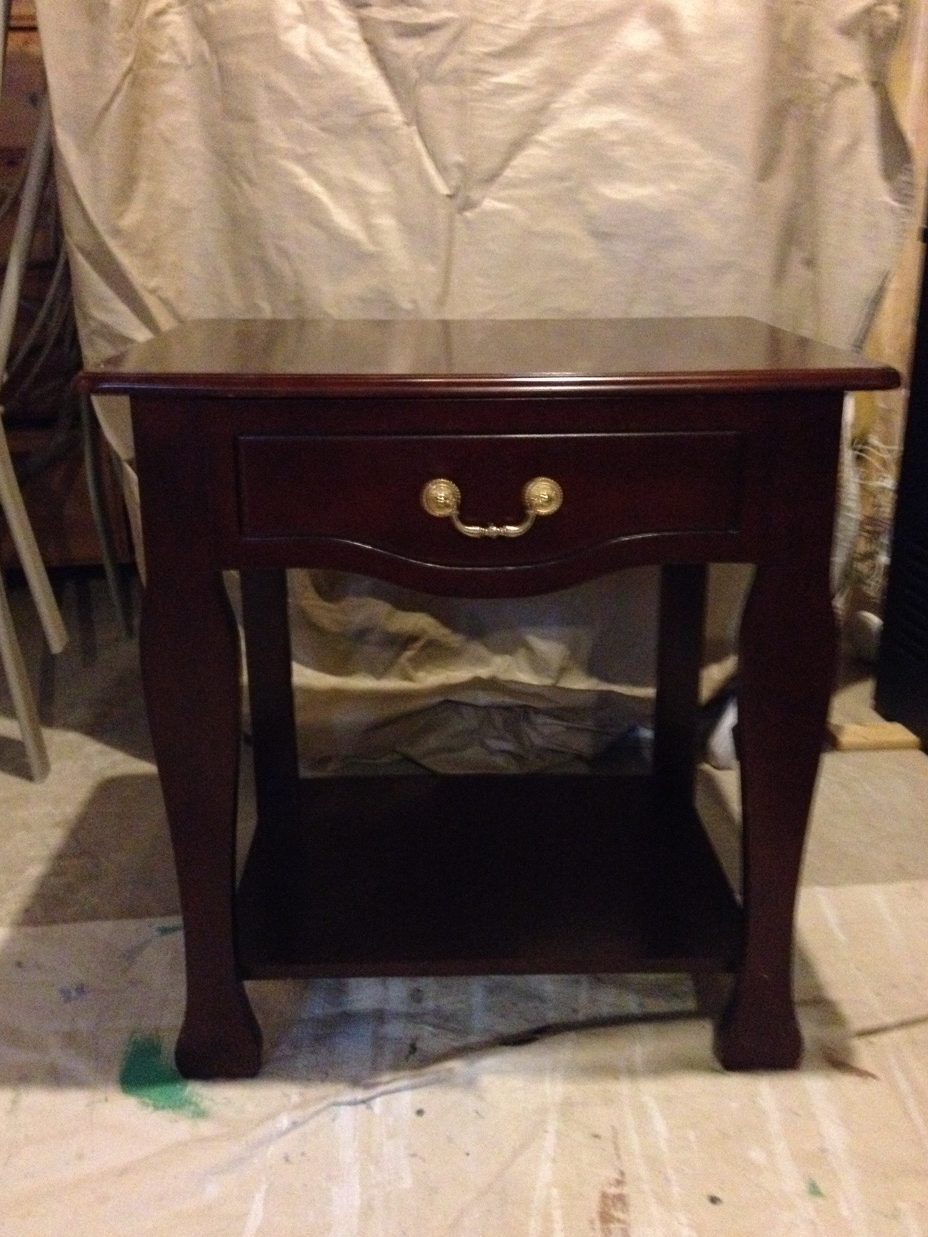
We were fortunate to came across a pair of solid wood bedside tables for only $15 each! Though they were much too dark and heavy looking for the romantic retreat I was creating, I knew they could be easily transformed.
Thrifting tips for DIY bedside table makeover projects:
1. Size it and Save it
Begin by measuring your existing space and keep that measurement with you on your smart phone or a small notepad. This will ensure that you don’t miss out on a good find because you can’t remember what size you need.(Been there, done that!)
Pro tip:
Always keep a small retractable tape measure in your purse. (And yes! it can be a super cute tape measure ) I can’t tell you how many times it’s come in handy over the years.
2. Style & features: bedside table requirements
Consider the overall look and style that you want in your space. Take into account what storage you will need bedside the bed.
What I loved about this set was that it had a drawer to tuck stuff away as well as a lower shelf. Having that open space on the bottom helps keep them from looking too heavy and is a great spot for displaying décor or adding a pretty basket for books or extra blankets.
3. Consider the Condition
If you are looking for a simple project, take the time to ensure it’s in good condition. Are the drawers working well? Are there any big gouges or wobbly legs that will need to be fixed?
You don’t want to spend more time than you need to on a furniture flip. Luckily, these tables were in near mint condition which meant they only needed to be cleaned and repainted.
DIY Bedside table makeover -Prep & Paint process:
A good cleaning with a vinegar/water mix (or a degreaser) is always my first step when acquiring a “new” piece of vintage furniture.
Next, a light sanding with 150 -180 grit, followed by a quick wipe with a lint free cloth to ensure a smooth clean surface for the paint to adhere to. Two coats of my favourite Bin Zinsser primer were applied and once they were dry, they got a fresh coat of paint (actually 2!).
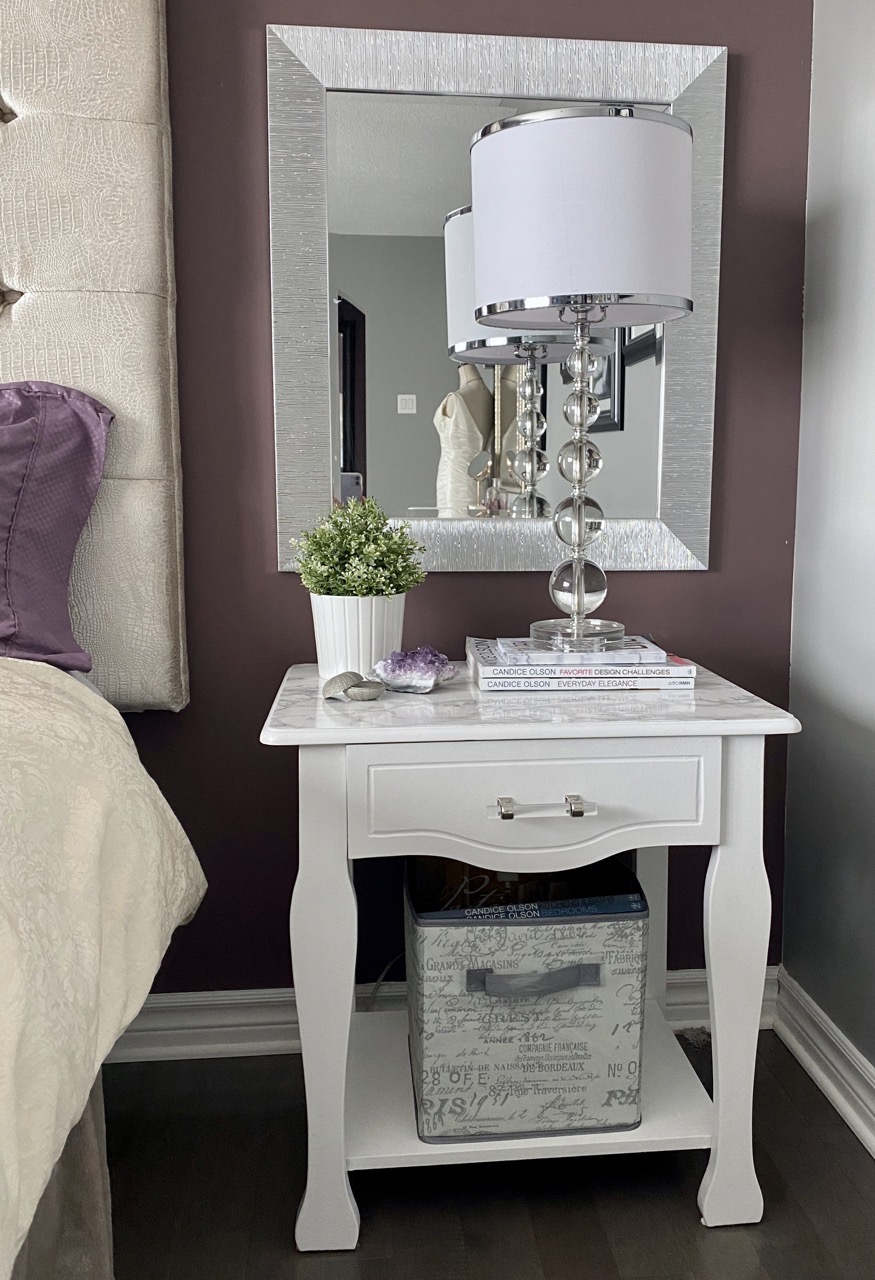
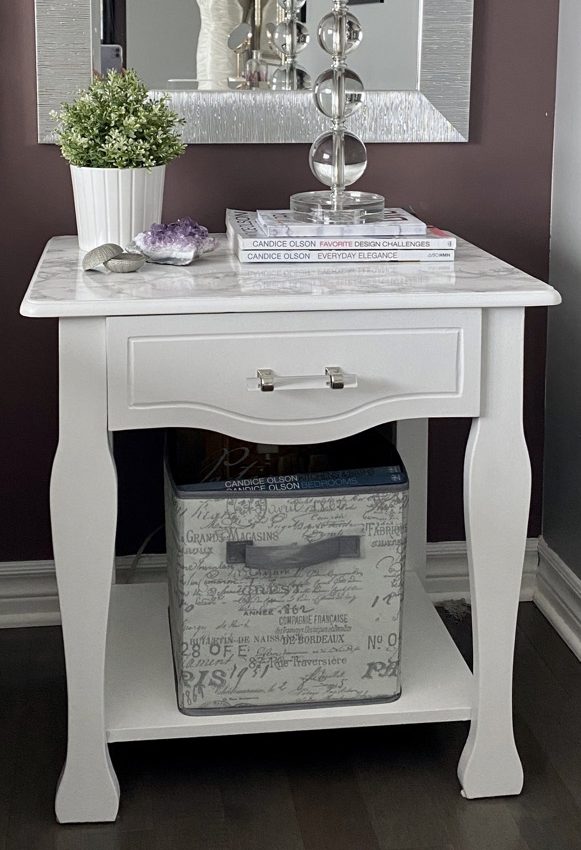
Finally, it was time to paint. To constrast the deep plum walls, I chose Decorator White (CC20) Cabinet Coat by Benjamin Moore. Talk about an instant transformation!
Adding some glam:
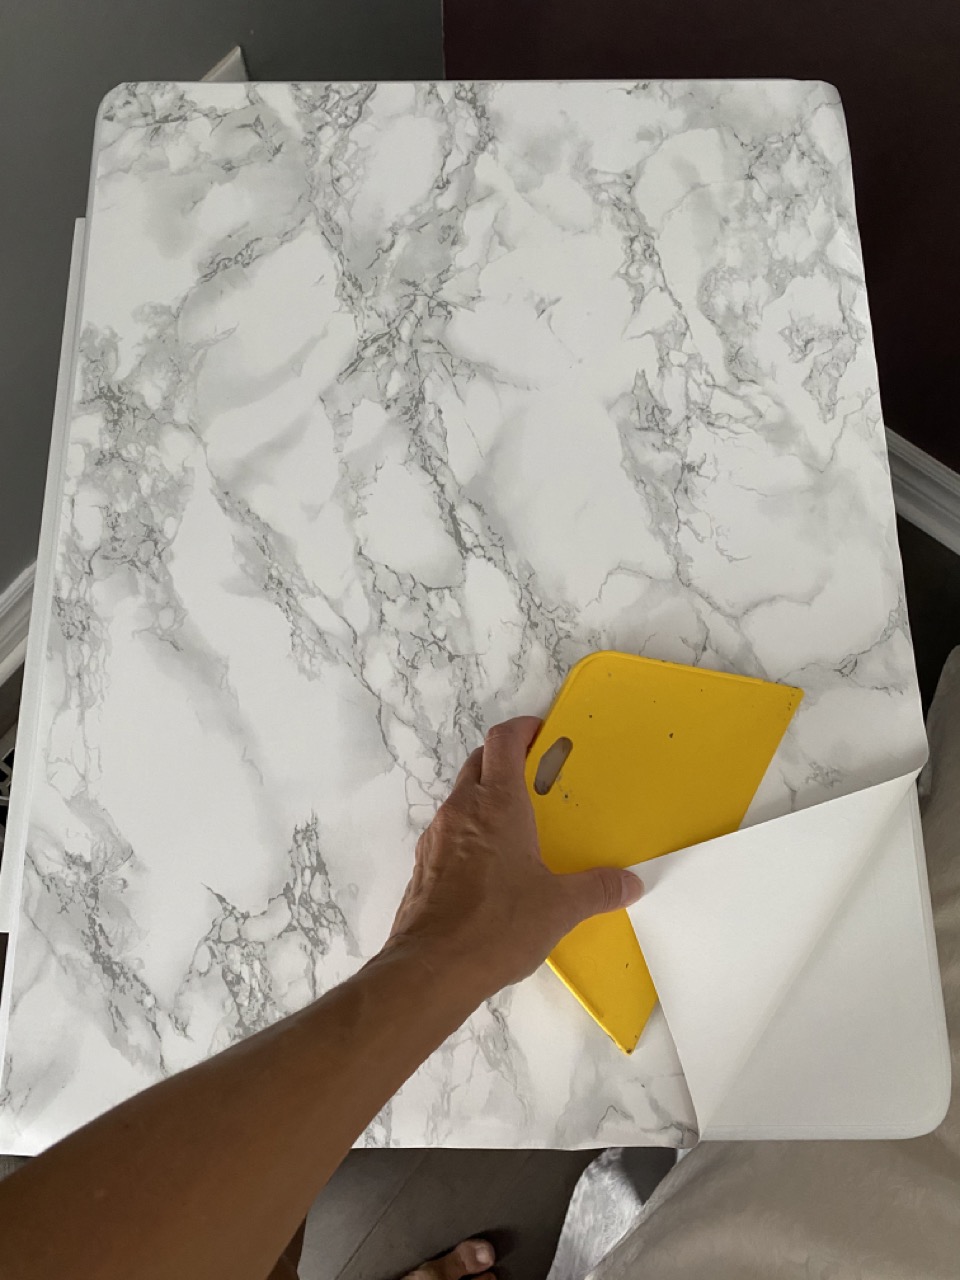
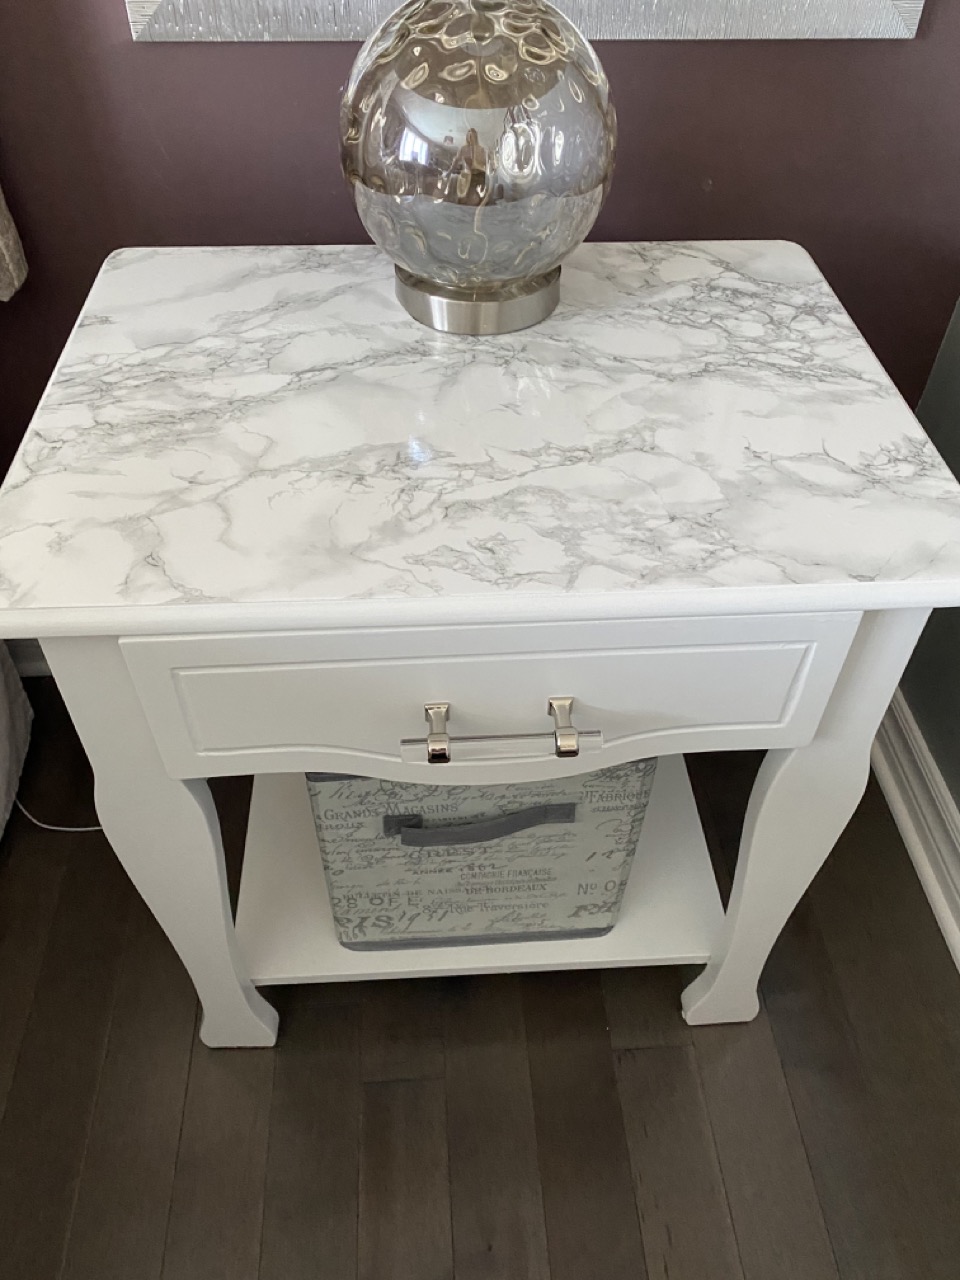
As for the top, I wanted an affordably elegant look. After a bit of research, I found the perfect self-adhesive marble film (it’s kind of like a peel and stick wallpaper but stronger and well suited to furniture projects).
Applying it was as easy as cutting it to size, peeling off the back and smoothing it on. Because this is vinyl, the tabletops remain scratch free and easy to clean.
Down the line, I can simply remove the film on top and repaint whenever I feel like a whole new look. But that is a project for another day.
Bonus tip:
If you have a wallpaper tool (like the yellow one above) that will help get the bubbles out but a wide plastic putty knife would do the job too.
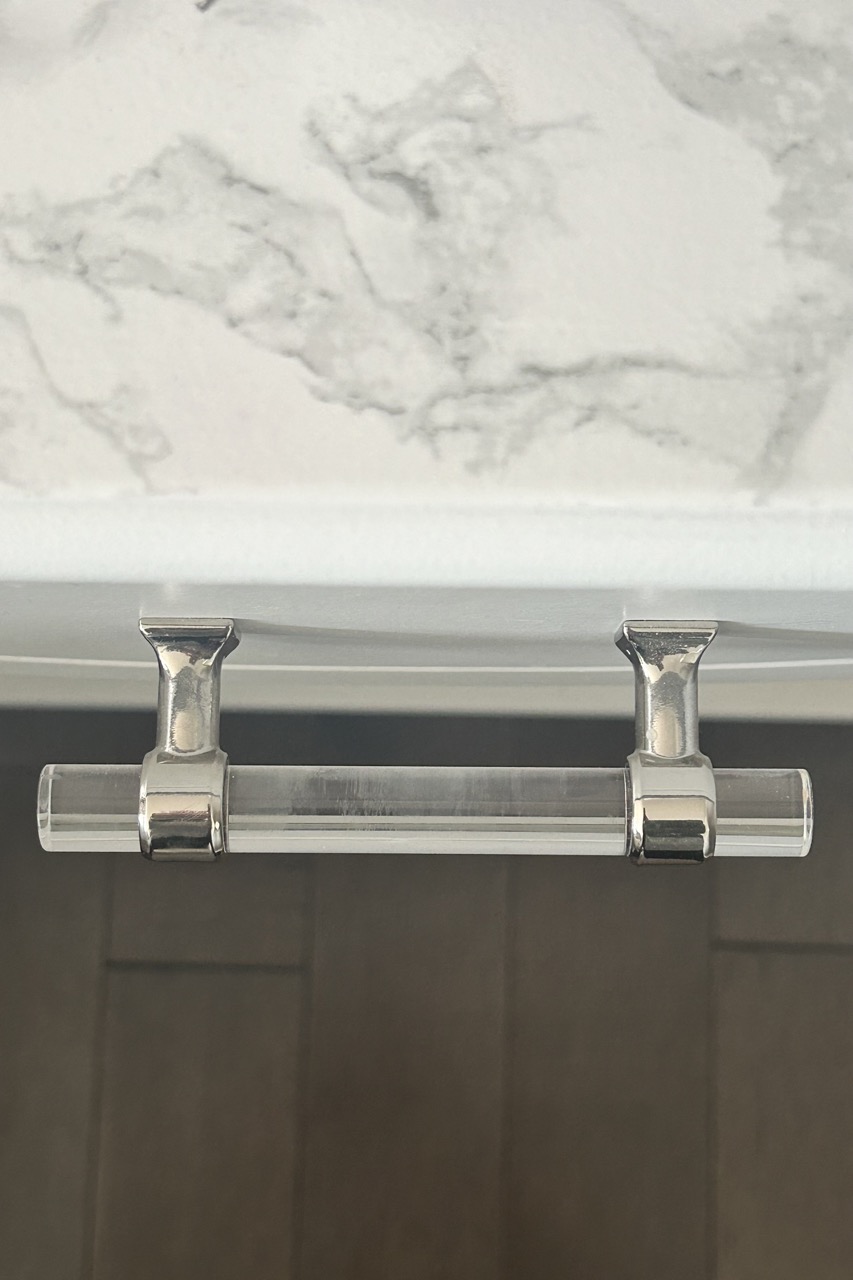
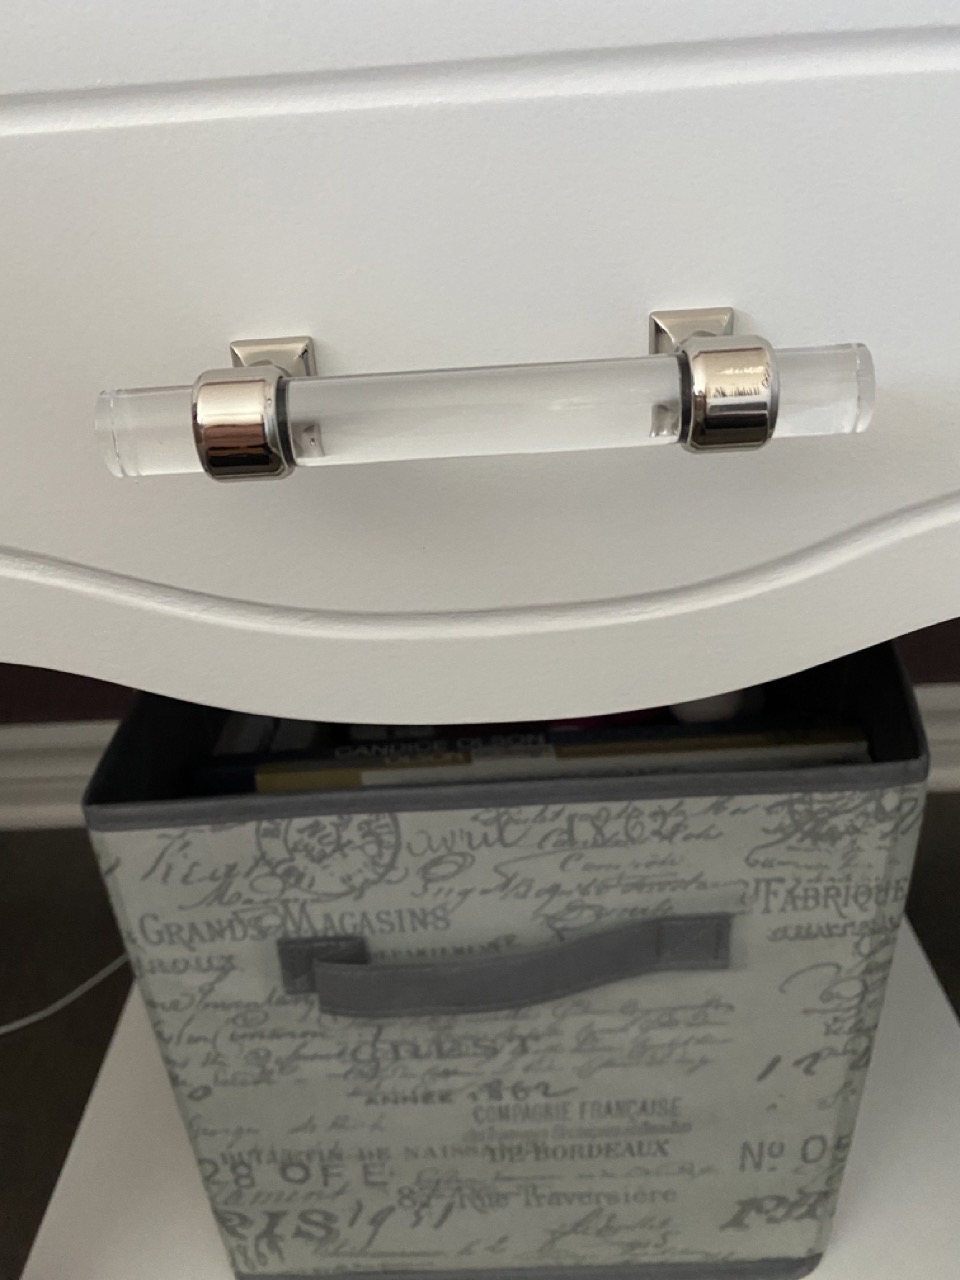
Hardware Upgrade
For a lighter brighter look, I sourced these clear lucite drawer pulls . They added a touch of modern elegance to this updated vintage find.
Looking for more inspiration? Check out the details on our primary bedroom transformation with the partner post: How to Create a moody romantic bedroom you’ll love. And there are even more dramatic before and after furniture transformations in the furniture portfolio.
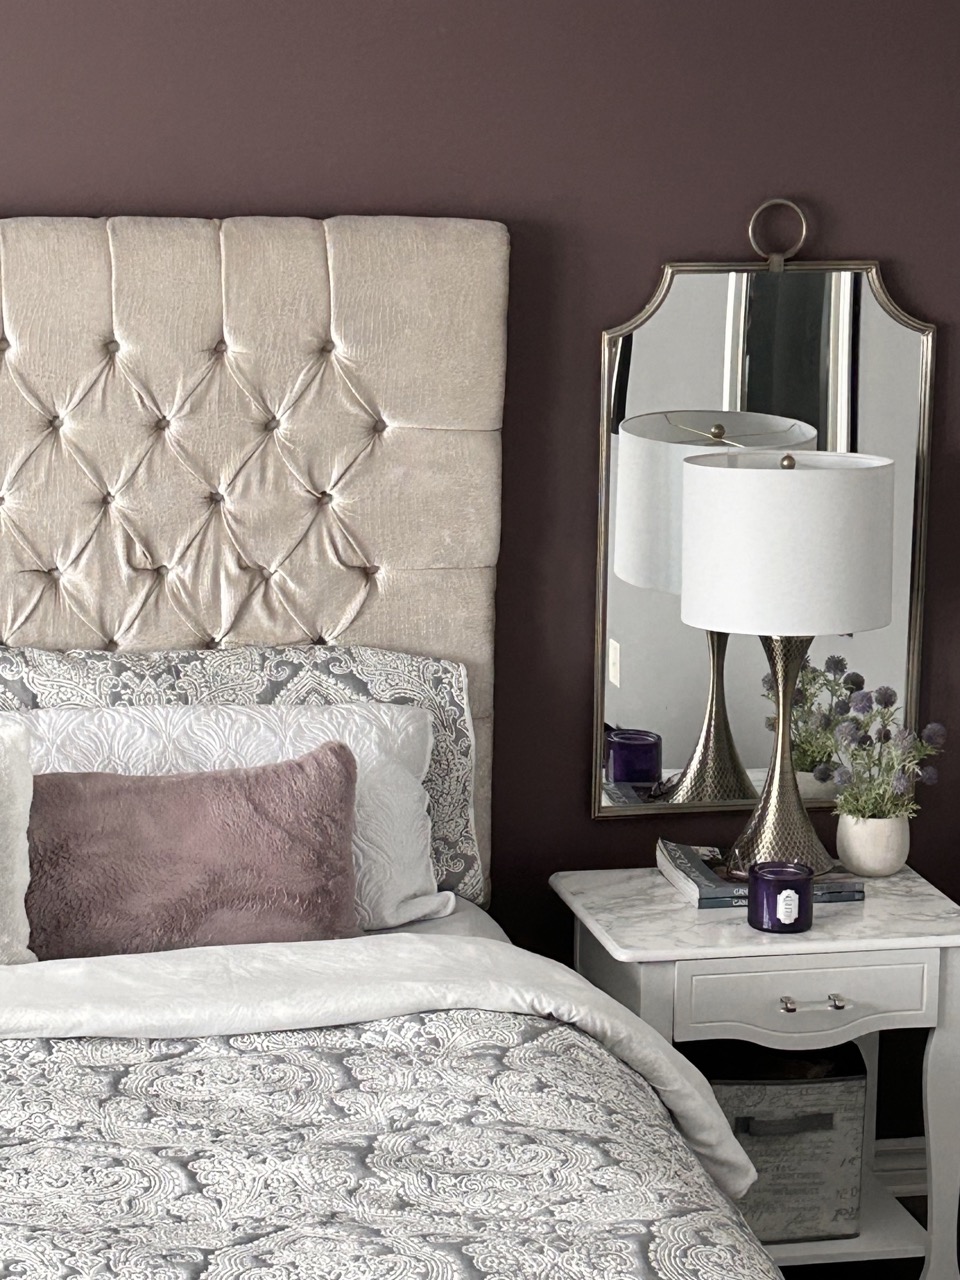
Finally, we have the perfect solid wood bedside tables that are both beautiful and functional. A simple DIY solution for elevated bedroom style.
For more furniture inspo, check out Better Homes and Gardens furniture-makeovers.
* Habitat for Humanity Restore is a non-profit home improvement retail store which sells donated, new and gently-used home furnishings, appliances and other renovation materials at a fraction of the original price. The organization helps build affordable homes for local families with the help of donors, community partners and volunteers.
More DIY ideas
If you liked this thrifted DIY Bedside Table makeover , you might also like these DIY projects.