5 Affordable Kitchen Makeover Ideas: to Create your dream kitchen
Wish you could give your kitchen a gorgeous new look without breaking the bank? Try these 5 affordable kitchen makeover ideas.

Kitchen renovation, remodel or refresh? Considering how much time we spend there, the kitchen is often a room that is high on the reno list. Trying to balance the “need to haves” and the “nice to haves” can make it tricky to choose between a full reno or a smaller refresh. Here’s how we incorporated 5 affordable kitchen makeover ideas and ended up with our dream kitchen.
What are the kitchen makeover “must haves”?
Before beginning the project, figuring out what each person needs is key. I like to bake and wanted it pretty and my hubby, being the cook, wanted it brighter and more functional.
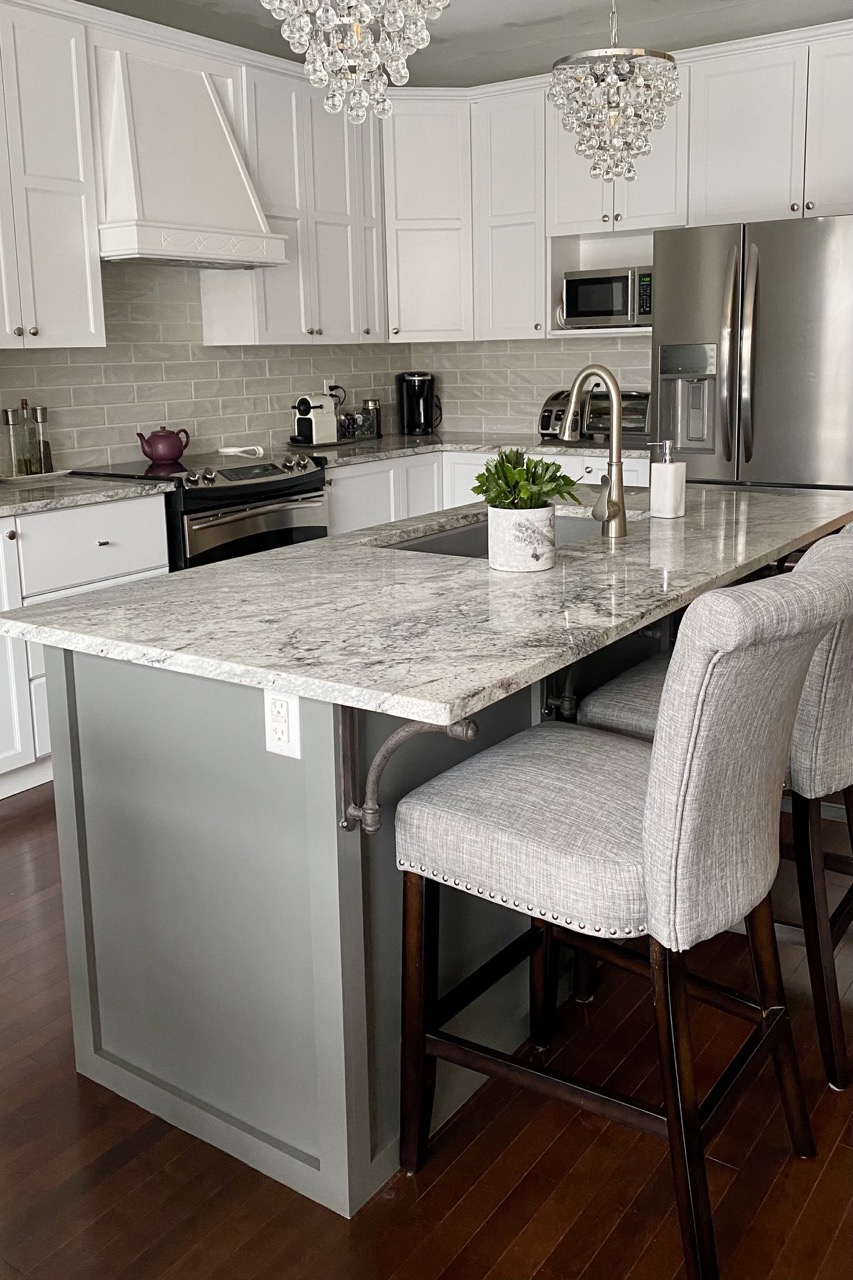
We actually chose this house based on the layout of the original kitchen. Having the sink face the family room, rather than the backyard was a priority. (plus it’s nice to have people sitting at the island chatting with us while we prep food or help the kids with homework)
Since we decided to work within the existing layout, it was easier and more cost effective to add kitchen updates that gave us all the function he needed with all the pretty details I was hoping for.
5 affordable kitchen makeover ideas to try:
1. Paint the existing cabinetry
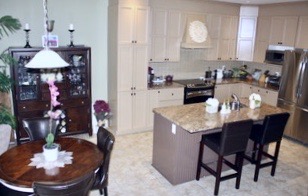
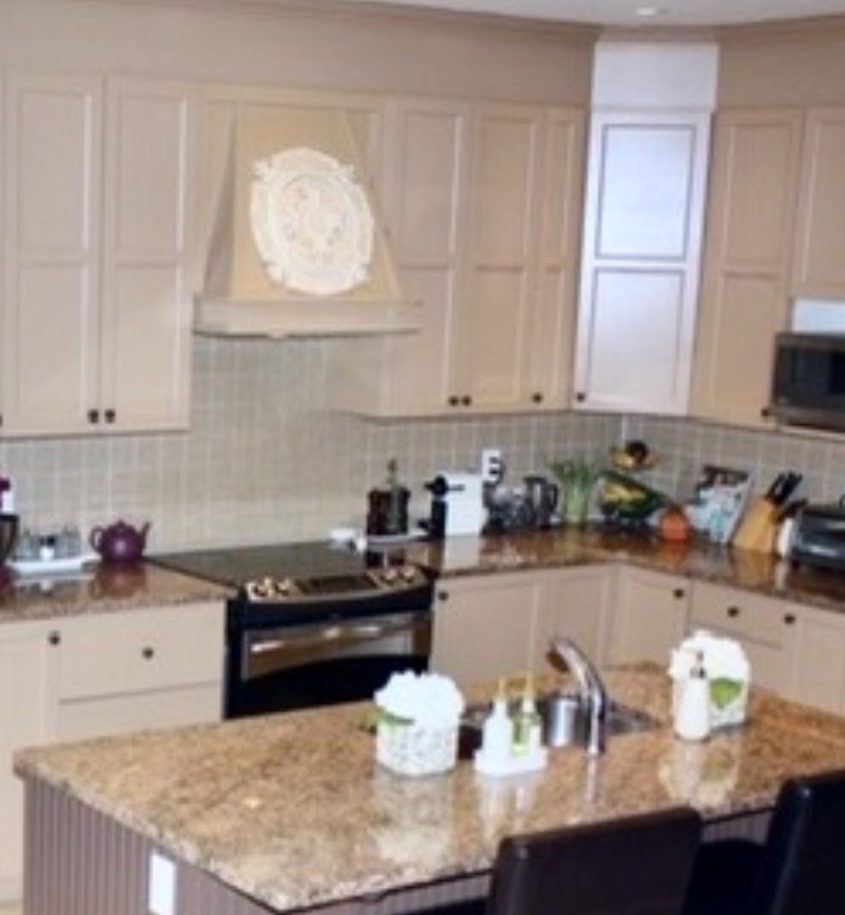
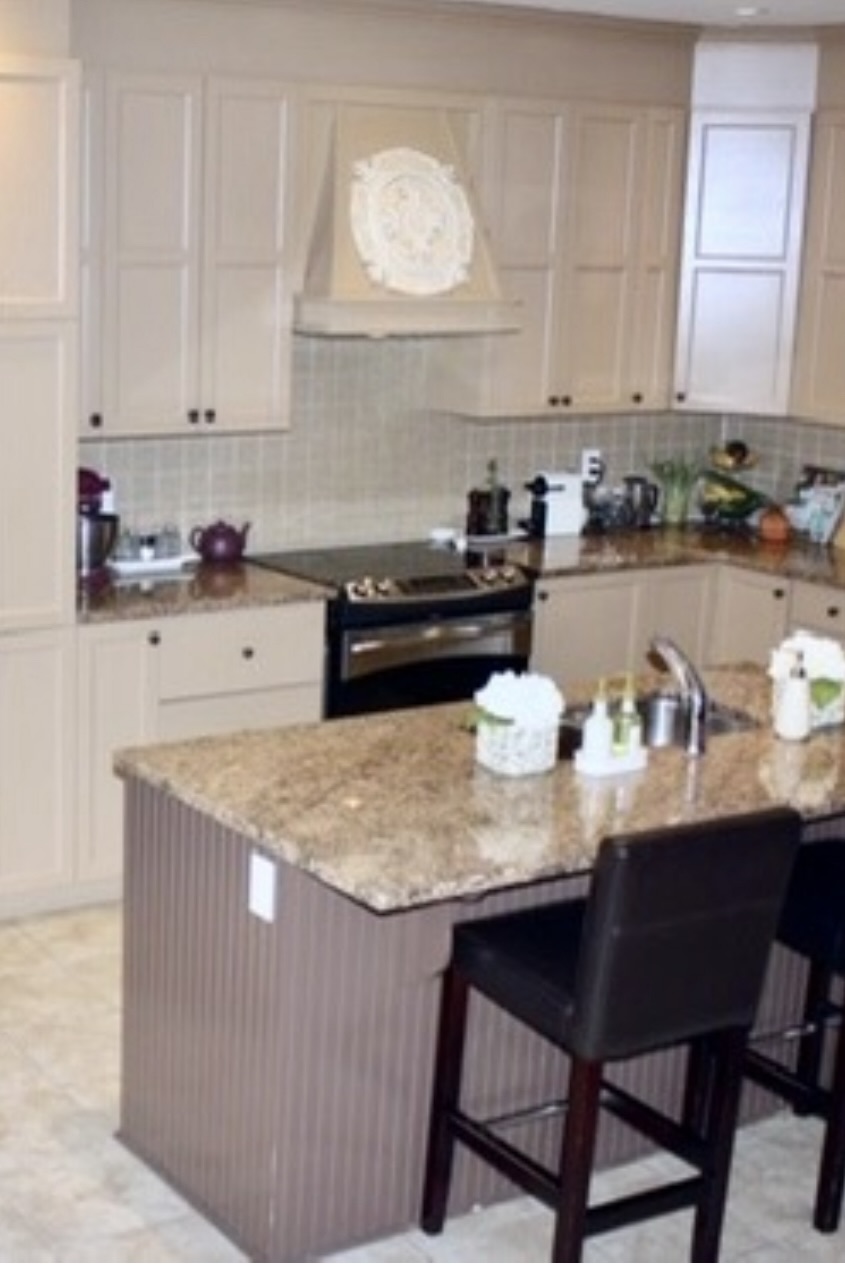
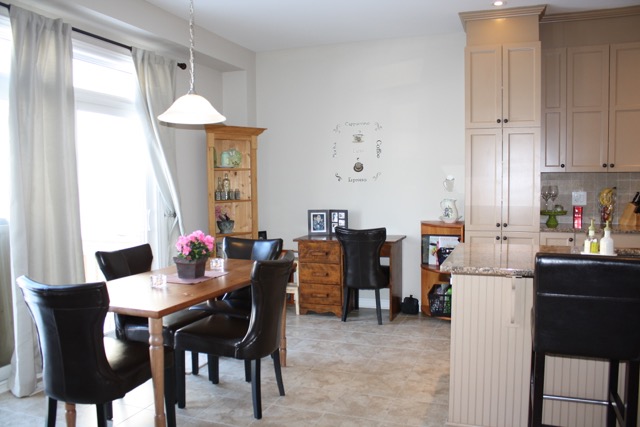
We started by painting our cupboard doors. Sometimes a little paint is all you need. The shaker style doors were in good shape, but the tired old café latte colour had to go.
Weighing the pros and cons of DIY painting vs professionally spraying our cabinet doors, we ended up choosing to have them sprayed. This provided us with a durable, flawless finish and saved us tons of time (and stress!).
In case you’ve thought about it, that flawless paint finish was actually more affordable than you might think. Check out our partner post: Painted Kitchen Cabinet Makeover ideas: DIY vs Professional
Q: Which paint colour did you choose?
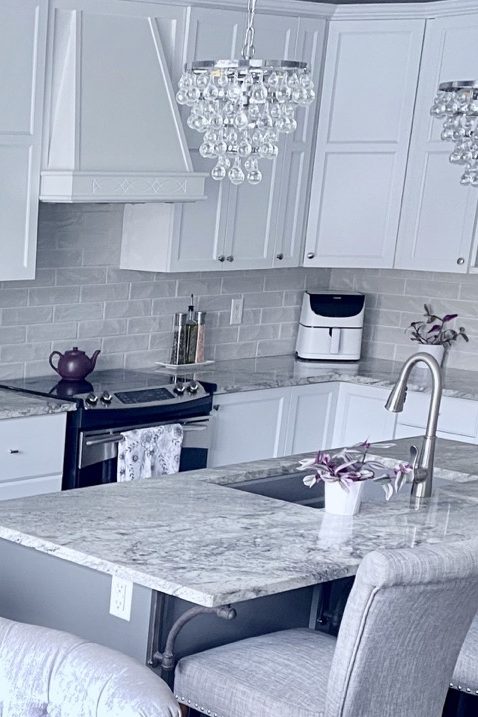
We went with Benjamin Moore’s -Decorator white(CC20). It instantly transformed the kitchen making the space feel bigger and brighter.
2. Redesign the Kitchen island
Next, we addressed the outdated and less than optimal island. For us it was all about size, sink and style. I needed more prep space for baking, a bigger sink and a solid stone countertop.
Originally, the island was covered in café latte paint just like the cupboards. One evening, when I’d had enough of that colour, I grabbed a brush in one hand (while cradling a glass of wine in the other) and painted the island dark brown. It was only a band aid solution, but it served us well until we were ready for the full remodel.
Things to consider when updating the kitchen island:
Size matters! (when it comes to prep space)
If you need more space, then consider adding a larger counter than is currently there. A few extra inches on the edges can really make a difference.
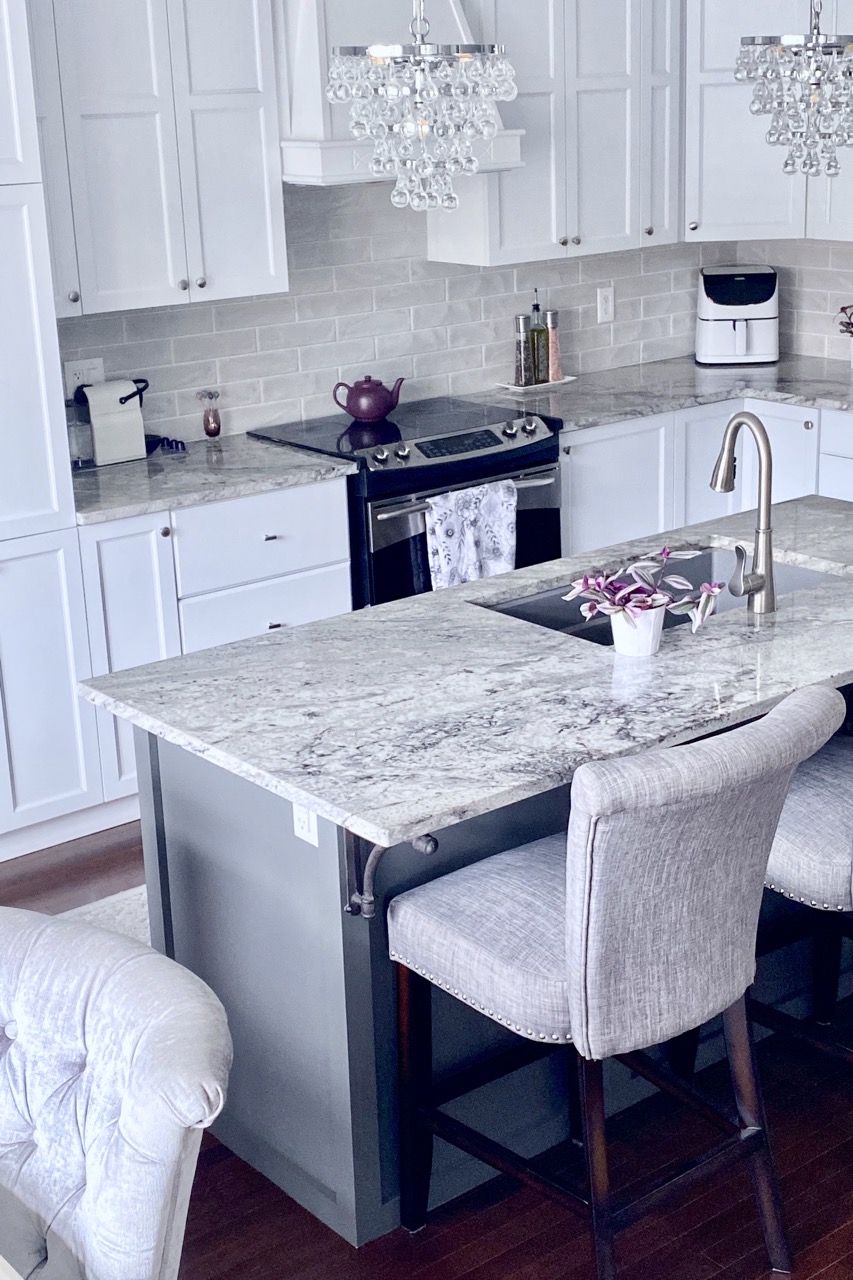
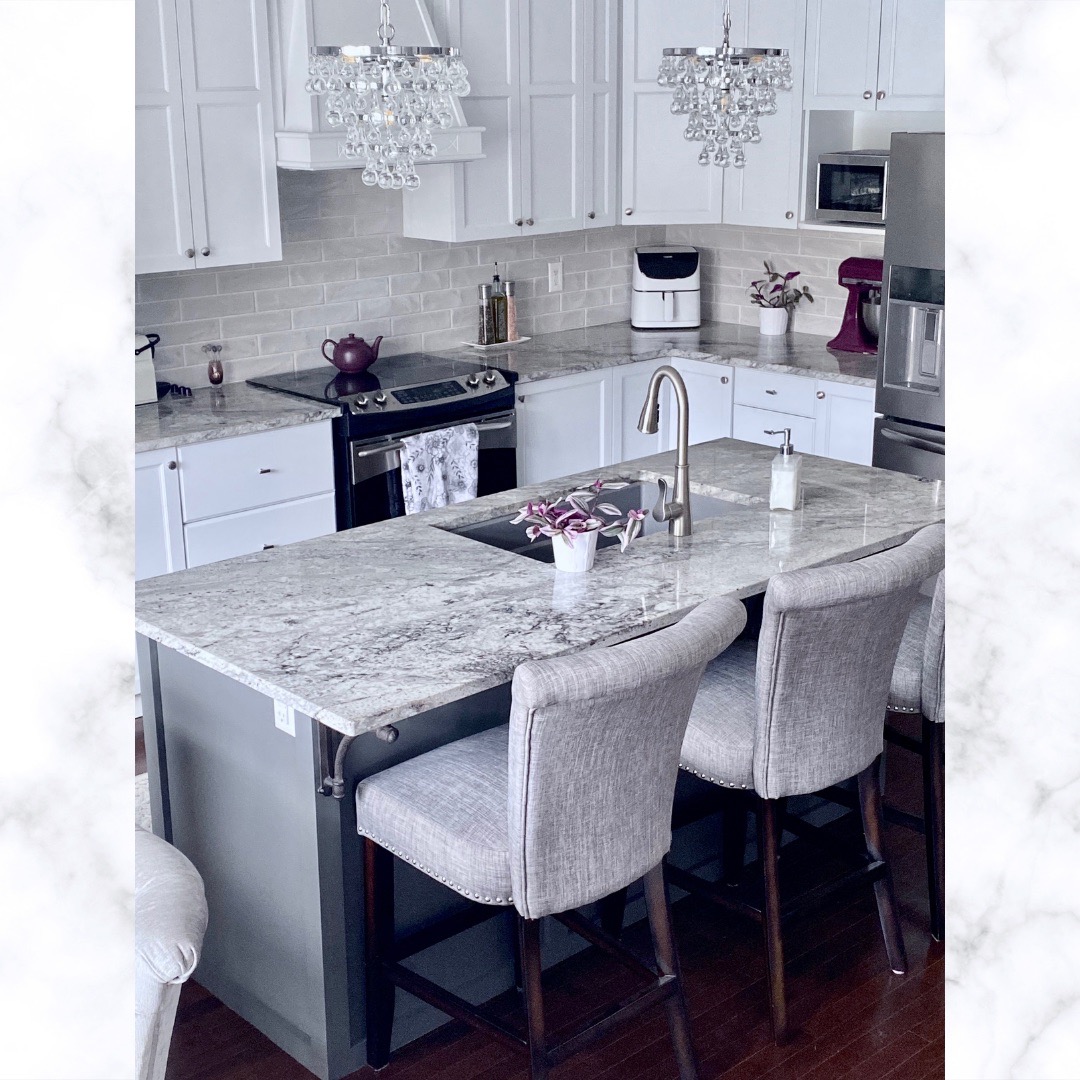
Because I needed more room for baking, we added a new granite countertop that provided an extra 2” on each side. The larger overhang doesn’t affect walk throughs and is still visually appealing.


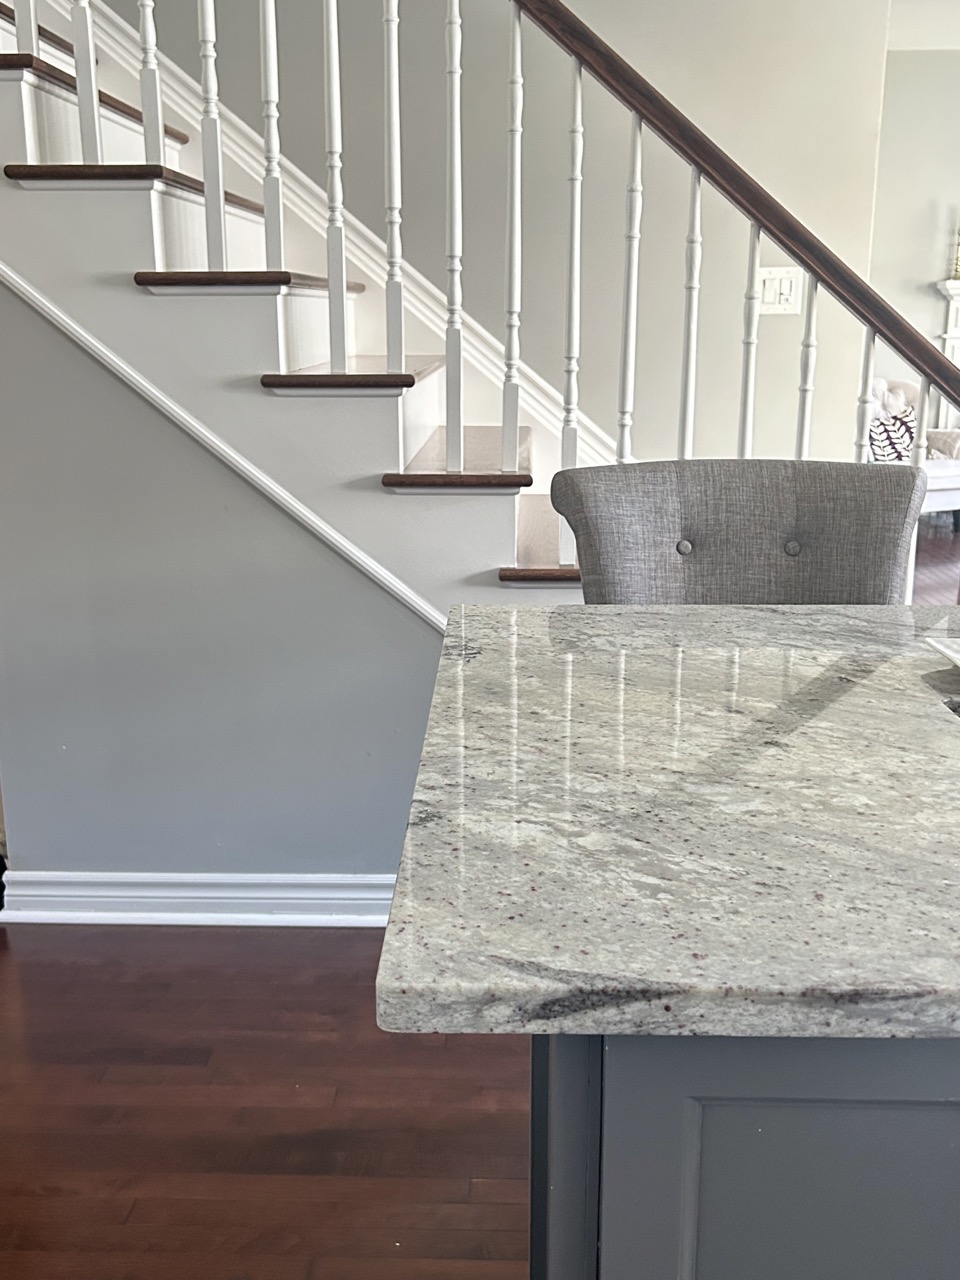
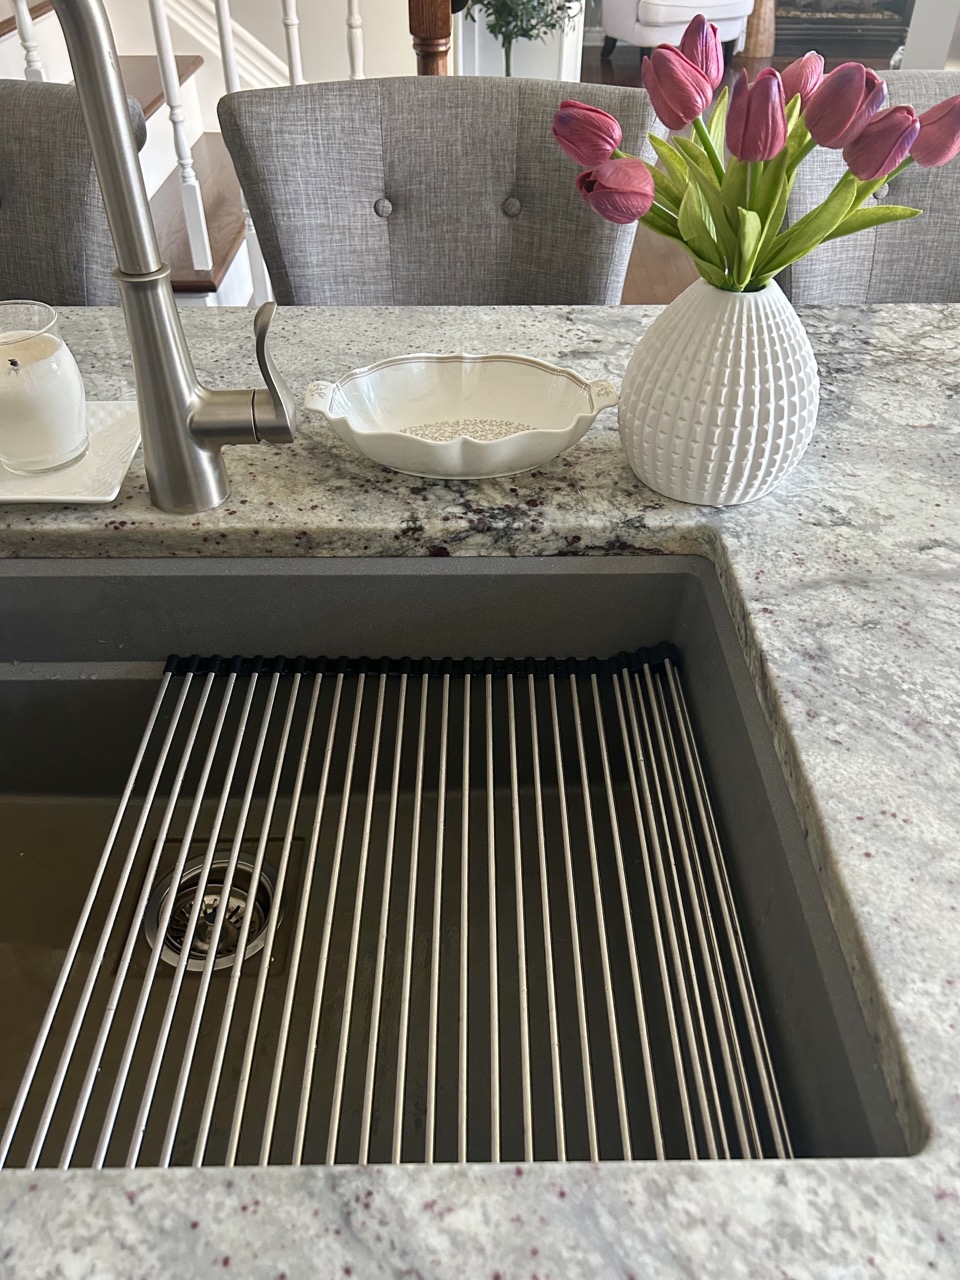
Granite countertop: Thunder white granite slab with grey veining and deep plum details.
Equally important, is the size of the sink. To allow for washing the biggest pots/pans, we found a large granite composite sink that complemented the deep grey colour in the new countertop.
Furthermore, it came with a low inset ledge to accommodate a roll-out dish rack. That meant we would have a less visible spot for dishes to drip dry.
Styling the island:
Here comes the fun stuff! Drawing on inspiration photos will guide style decisions and help you stay on course with the overall look you are trying to create in your kitchen . Paint, trim and hardware are all affordable ways to change things up.
The Base: The first thing we did to the base was reclad the existing base with new wood panels.
Next, wide trim was added around each one for a more modern look.
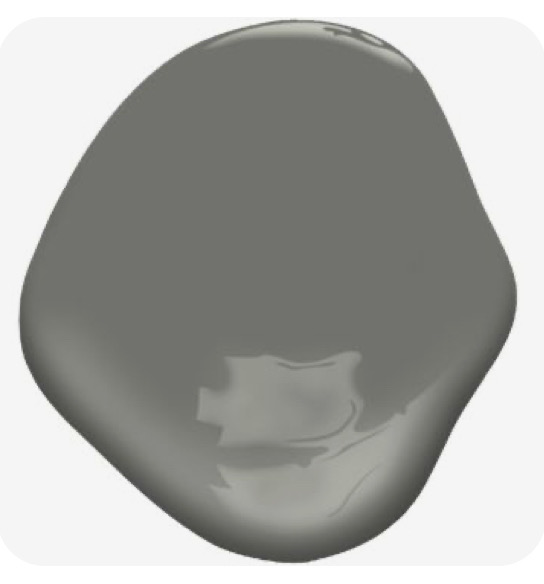
Finally, I painted the whole island in Benjamin Moore Amherst Gray, (Cabinet Coat for an extra durable finish).

The dark grey colour provided a deep moody contrast to the white cabinets and helped tie in the backyard design which is visible from the glass patio doors.
For step by step instructions on painting a smaller project like this, check out my Bathroom vanity makeover post.
After replacing the old laminate countertop with a gorgeous new granite slab, we attached large cast-iron-shelf-brackets underneath for more support.
The dark brackets offer a rustic contrast to all the pretty finishing details. (I’m looking at you, crystal island pendants 🙂
For a final touch, I added an LED rechargeable light strip underneath the island, that goes on in the evening for added ambiance.


3. Update the old flooring:
From tile to hardwood to many things in between, kitchen flooring options are plentiful these days. Laying things out in a herringbone or checkered pattern can take a simple floor from boring to beautiful.
Taking a cue from the dark hardwood in the rest of the main floor, we chose the same flooring but ran it vertically. The amount of new flooring needed was less than the actual square feet of the room, given the amount taken up by cabinets and the island.
Next, out came the power tools and the builder boring tile. (Finally!) By doing the all the demo ourselves and sourcing flooring on sale, we were able to reduce the costs even more.
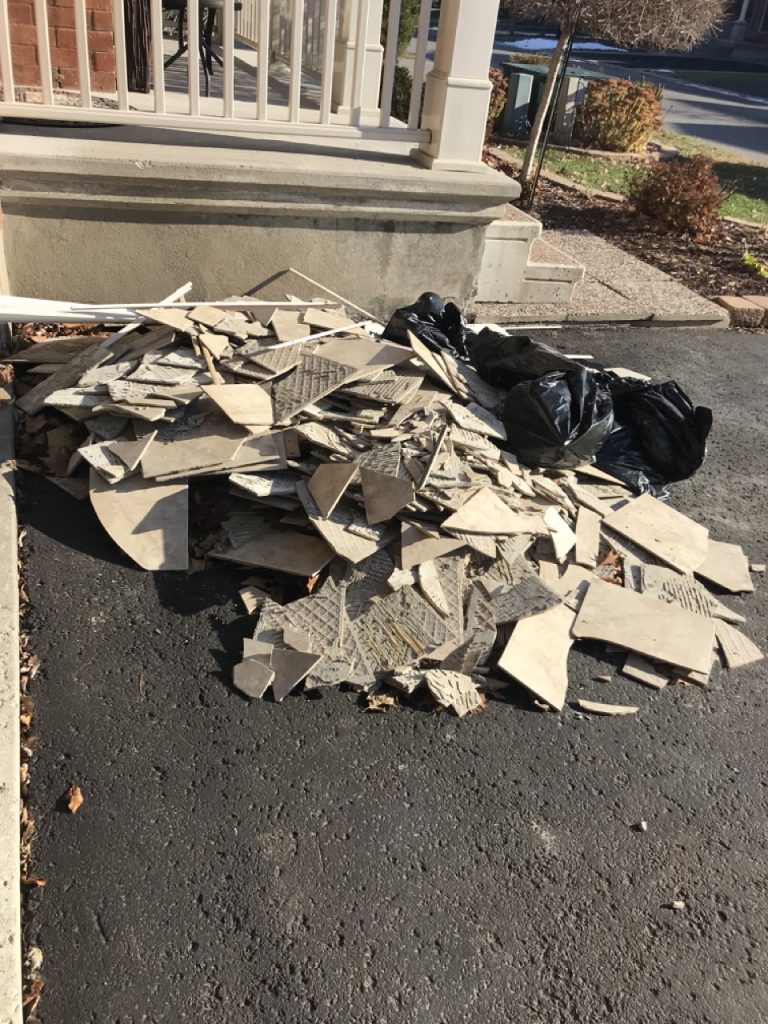
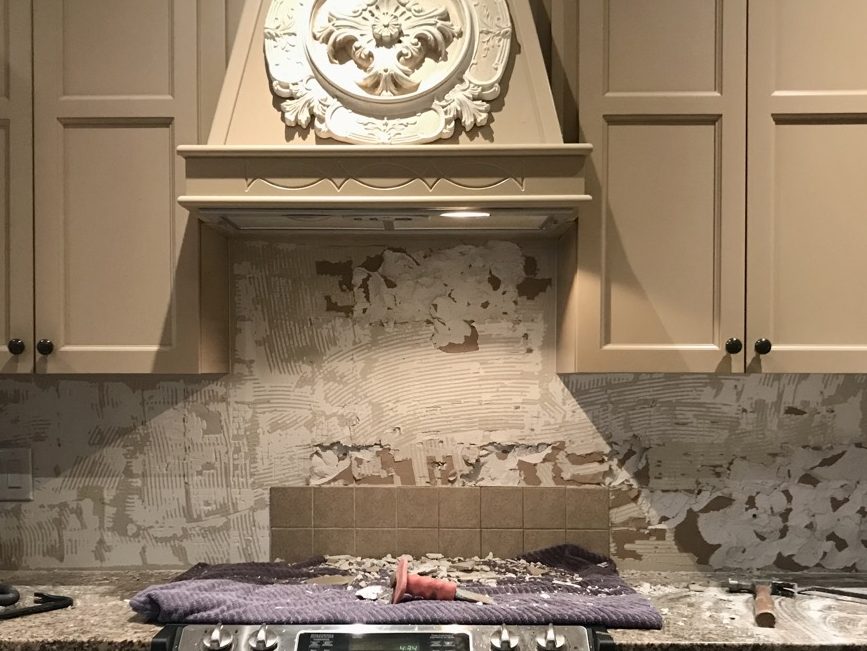
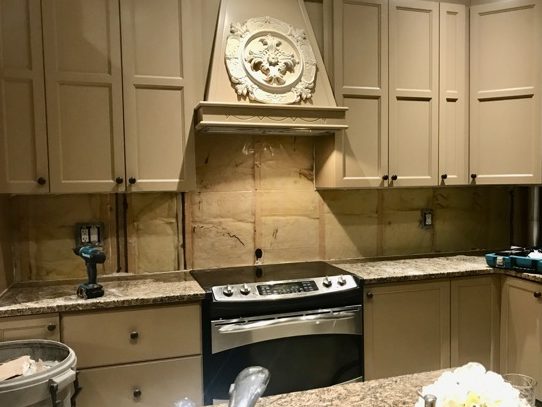
4. Budget friendly backsplash:
When it comes time to sourcing tile, the choices can be overwhelming. A backsplash can date your kitchen quickly so it’s worth taking time to consider all the options.
The benefit of visiting local tile shops is that you can hold them in your hand and see the colours in person and draw on the expertise of the onsite designers.
Pro tip:
Make sure to bring samples home and stand them up against the countertop to see if they work well together in both day and evening light. If it’s in the budget, consider adding a solid stone slab with an eye-catching pattern as a backsplash.
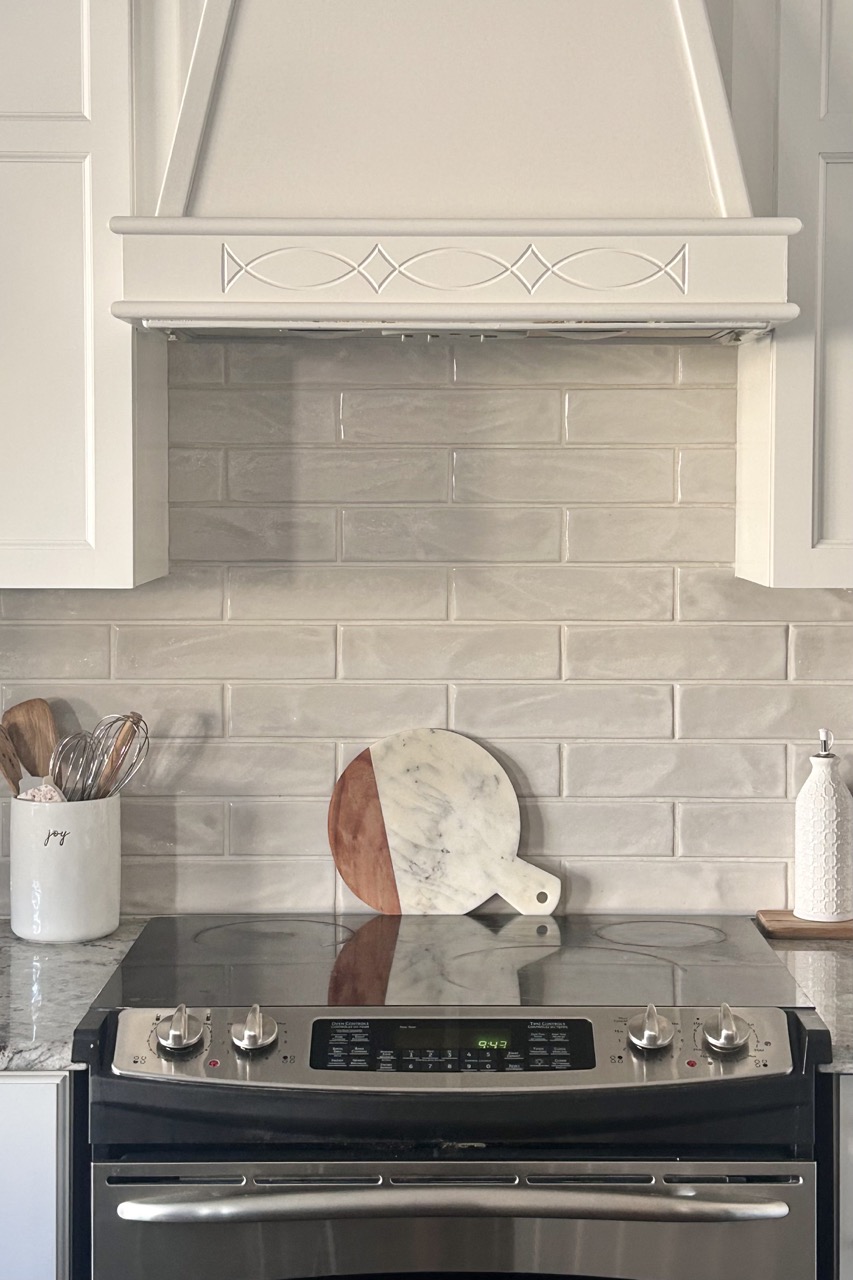
Doing the leg work allowed me to source this beautiful and affordable Marlow Mist 3×6 tile. It has a subtle undulating pattern which is a unique twist on the classic subway tile.
5. Sourcing affordable finishes & fixtures :
You’re dream kitchen is almost done! Now it’s time for the finishes like lighting & decor. Here is where costs can really add up, especially as the project nears the end and you just want everything to be finished. (I know I did!)
Shop early for budget friendly options
Shopping early and online allows you to take advantage of bigger sales like Wayfair’s WayDay or Amazon Prime day. It also gives you time to check selection and pricing between stores.
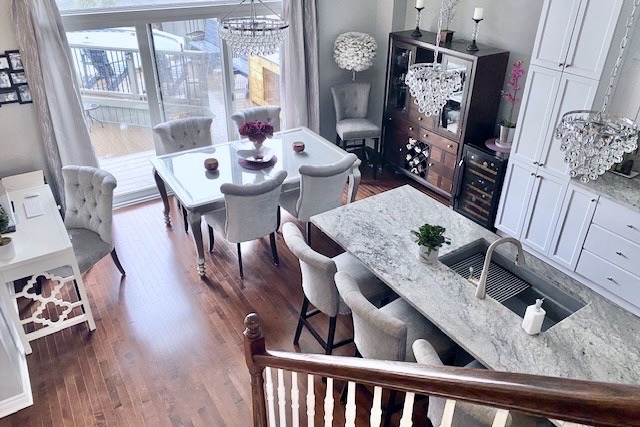
Once I had my mood-board created, I then began sourcing all the lighting and décor to finish the space. I ended up finding these beautiful Dimmable Crystal Pendants for over the island and a Large Crystal Chandelier for over the dining table during a WayDay sale.
Want more cost saving and stylish solutions?
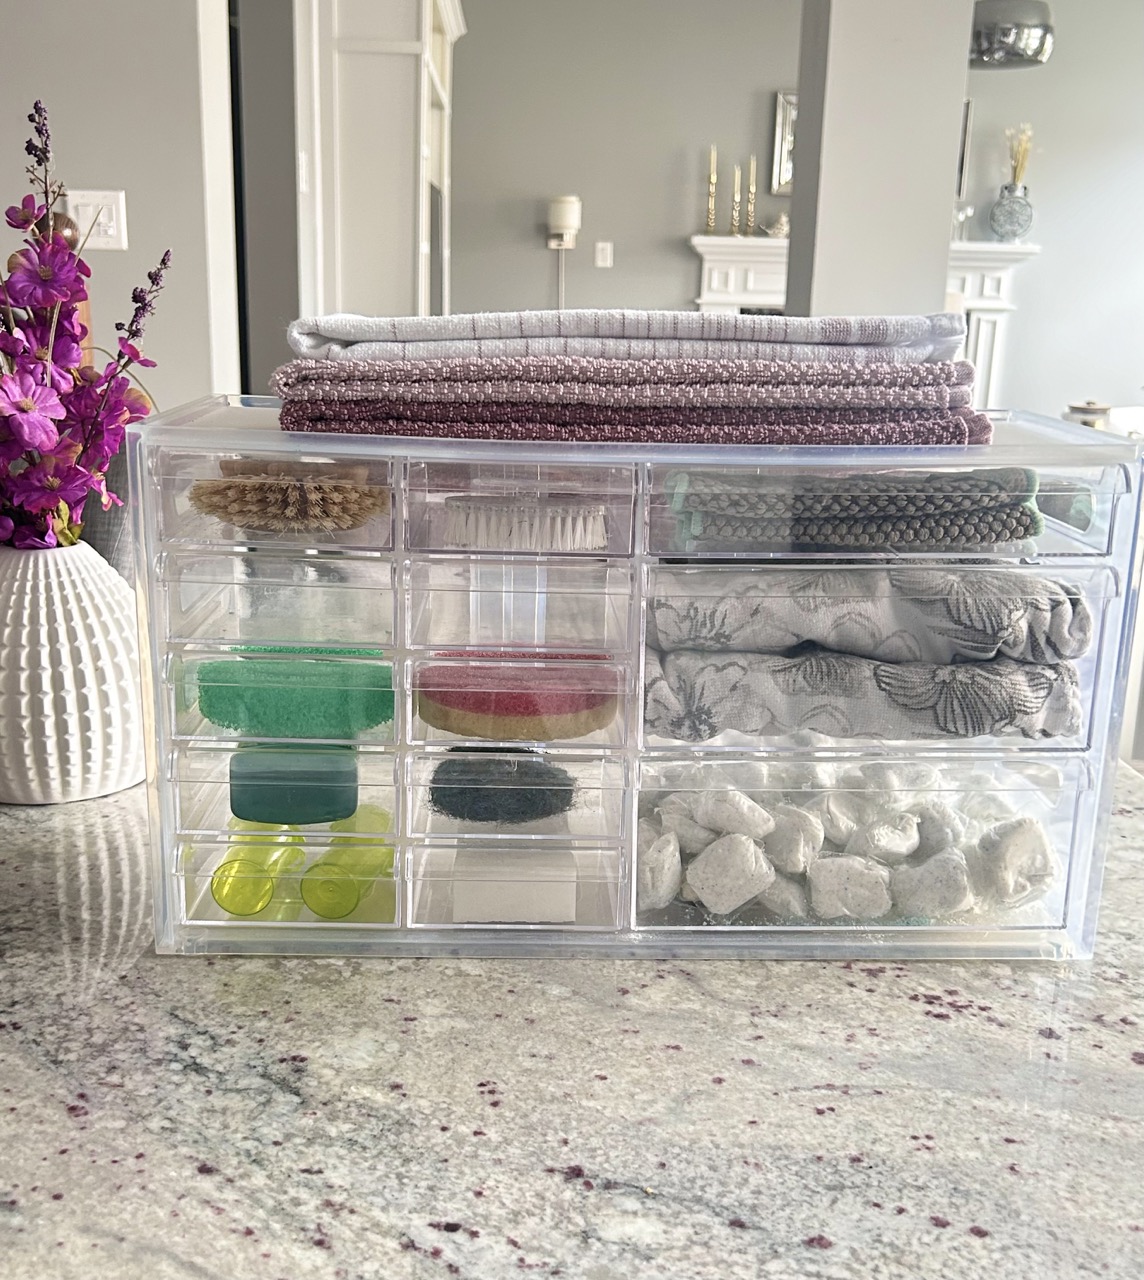
Also consider redesigning decor you have on hand. (paint will be your best friend here). Furthermore, this is a great opportunity to do some thrift shopping or check FacebookMarketplace for pieces that you could transform to add a truly personalized touch.
Save vs Splurge: How these 5 affordable kitchen makeover ideas really pay off
First of all, by working within the existing layout of the kitchen we were able to affordably update the kitchen without having to shell out for costly rerouting of plumbing!
Secondly, reworking the island instead of replacing it allowed us to customize the look and make it far more functional.
Thirdly, professionally spraying the existing cabinets was a huge cost savings from having to replace all the doors and drawers.
Finally, with what we saved overall, we were able to add new decor as well as splurge on a gorgeous granite we will love for years to come.
In the end, we had the kitchen of our dreams! After several years of dreaming about it and 10 months of planning, I can honestly say I would live through it again.
Three weeks of reno mess was a reasonable trade-off for the many years of enjoyment we’ll have in our beautiful “new” kitchen.
Here are some beautiful Kitchen remodel ideas from Martha Stewart.
More affordable Design ideas
If you liked these 5 affordable kitchen makeover ideas you might also like these other budget friendly Design projects.