Easy DIY detergent bottles: Laundry Room organization idea
Tired of staring at the mega container of detergent? Try these easy DIY detergent bottles, my budget friendly laundry room organization idea.

Because I lived with a cluttered laundry countertop for for too long, it was time add some functional style. However, having products close at hand was as important as tidying up the look.
Here’s how I addressed the supply mess so that I had an organized and stylish laundry room.
What you’ll need for the DIY detergent bottles:
1. Plastic or glass bottles:
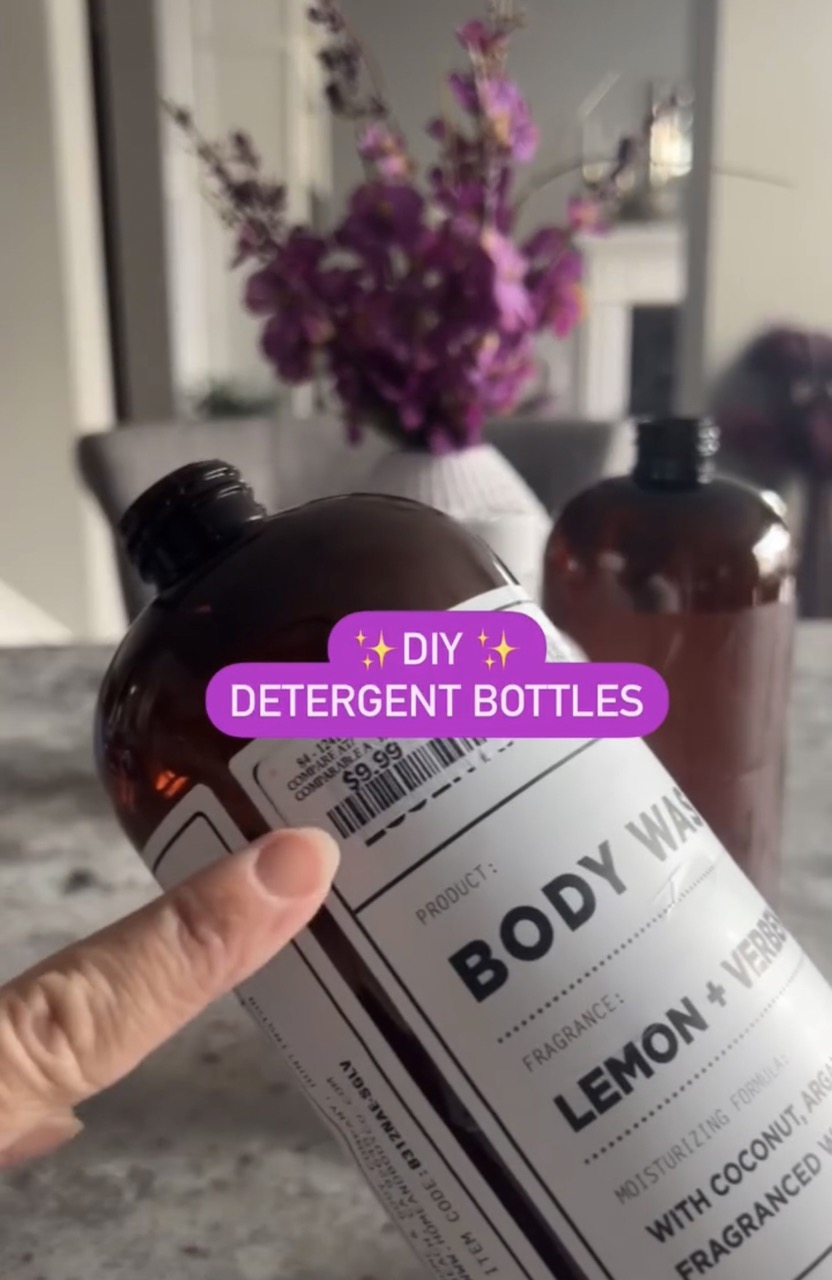
Begin by looking for inexpensive plastic or glass bottles. You can find pretty ones at HomeSense/Winners, for instance. Also, repurposed leftover body wash or shampoo containers are a budget friendly option.
Bonus tip: Larger sized bottles mean you won’t have to refill them as often.
Style matters: Ensure you choose a colour, size and shape that will work for your space so you’ll have a cohesive look.
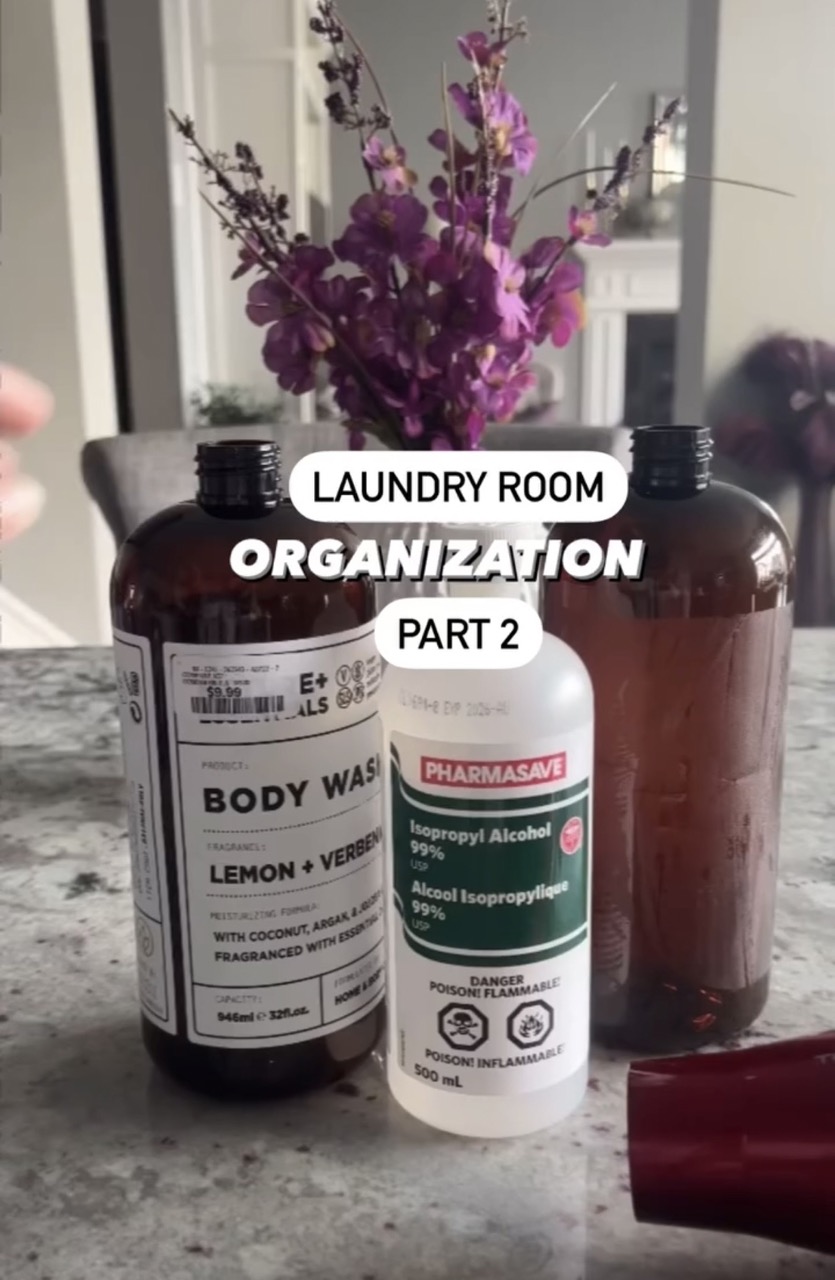
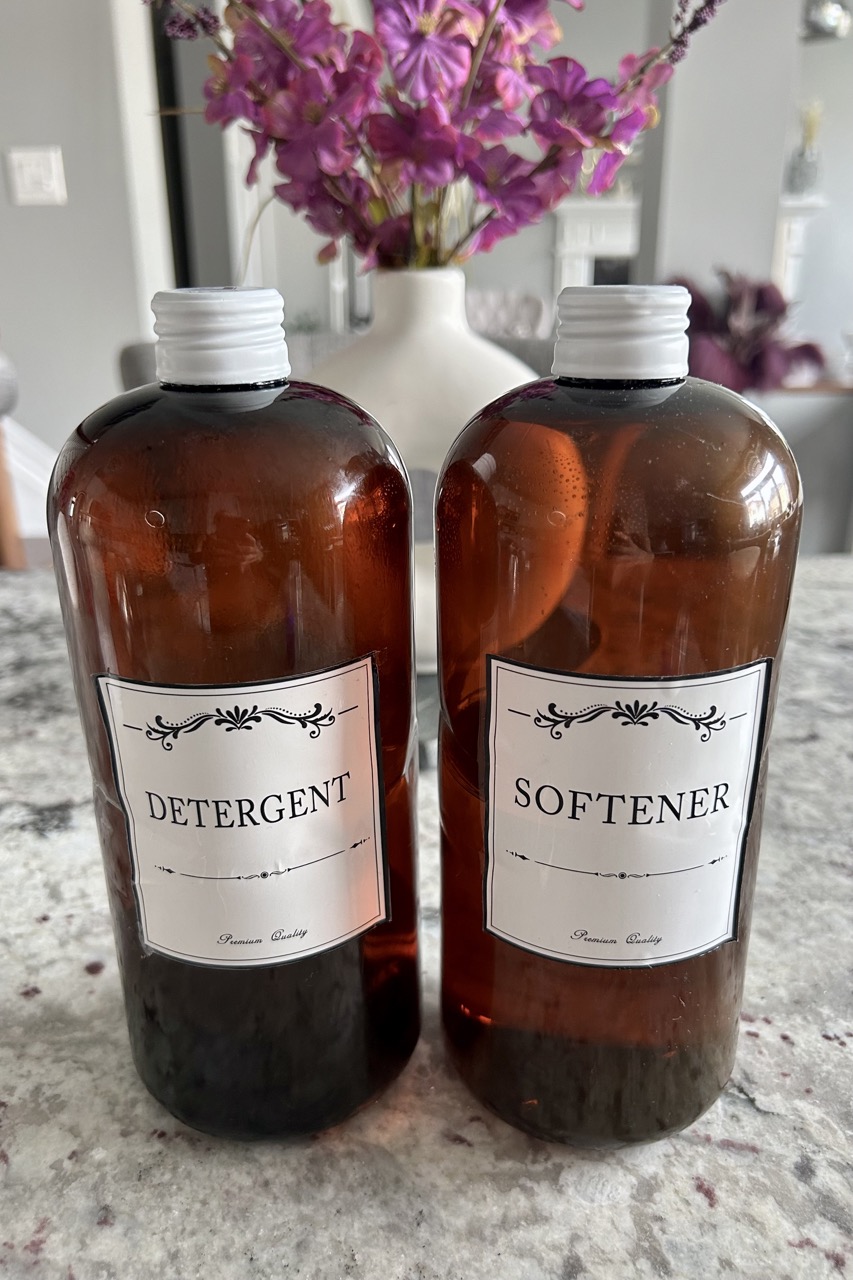
Because these brown plastic bottles (left over body wash containers) were large, I knew they would be perfect for this project. At a glance, they look like the more expensive brown glass ones, however, they are much lighter than their glass counterparts.
2. Self Adhesive bottle labels
Next, you’ll need some labels. Many styles of pretty waterproof labels are available online. Chalkboard labels would work too, for instance, but waterproof ones are handy in case of any detergent spillage.
Luckily, I still had extra labels from a previous DIY soap bottles for the bathroom.
3. A blow-dryer
The last thing you’ll need is a blow dryer will help to remove the old labels.
DIY bottles: Simple Steps
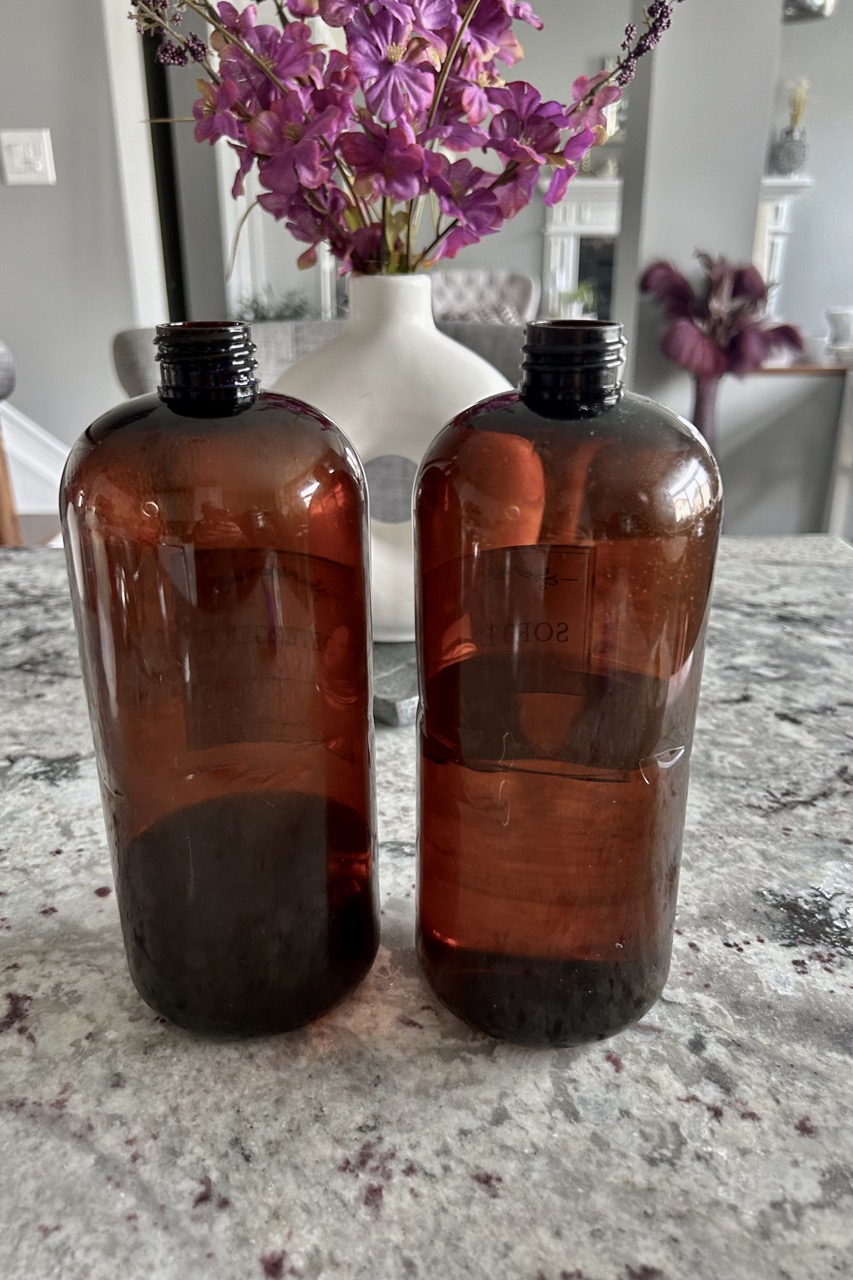
Begin by removing the old store label using a hairdryer on high for about 30 seconds, then pealing it off.
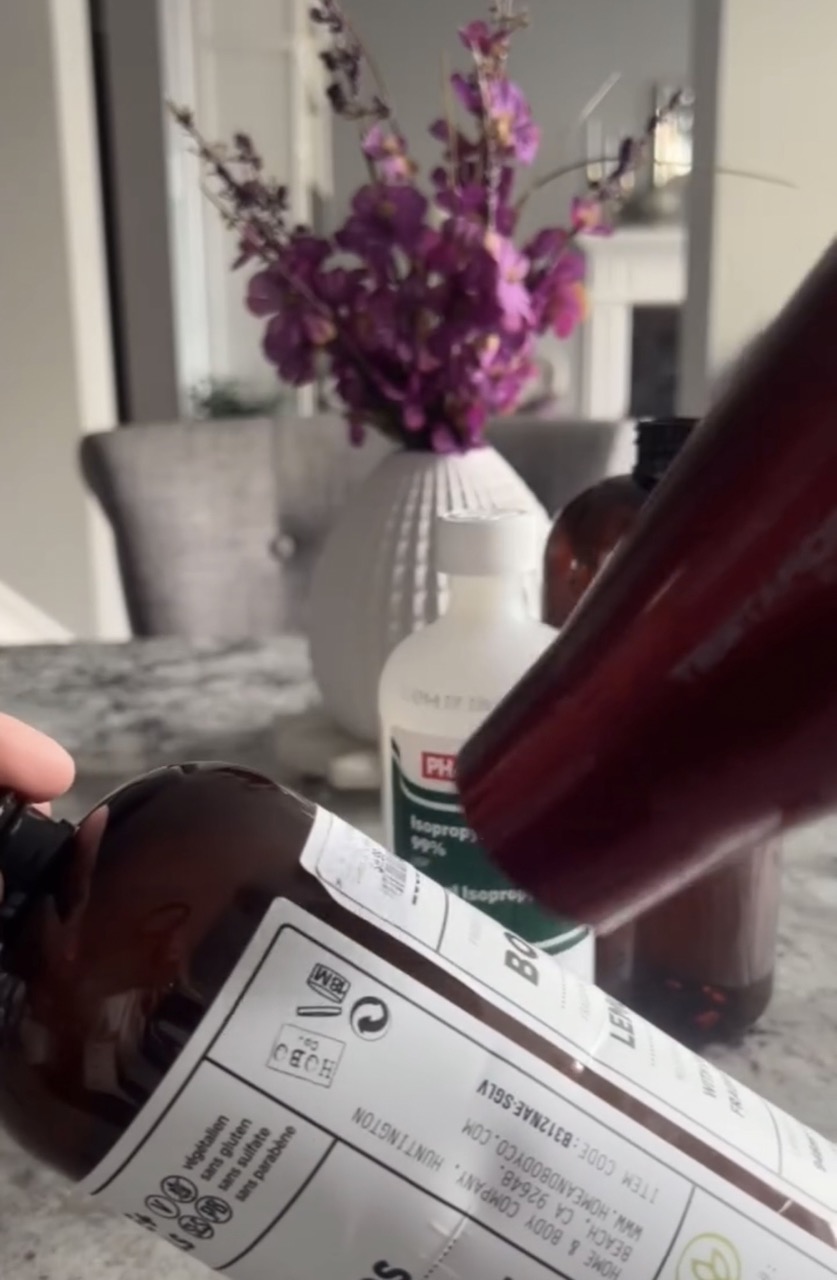
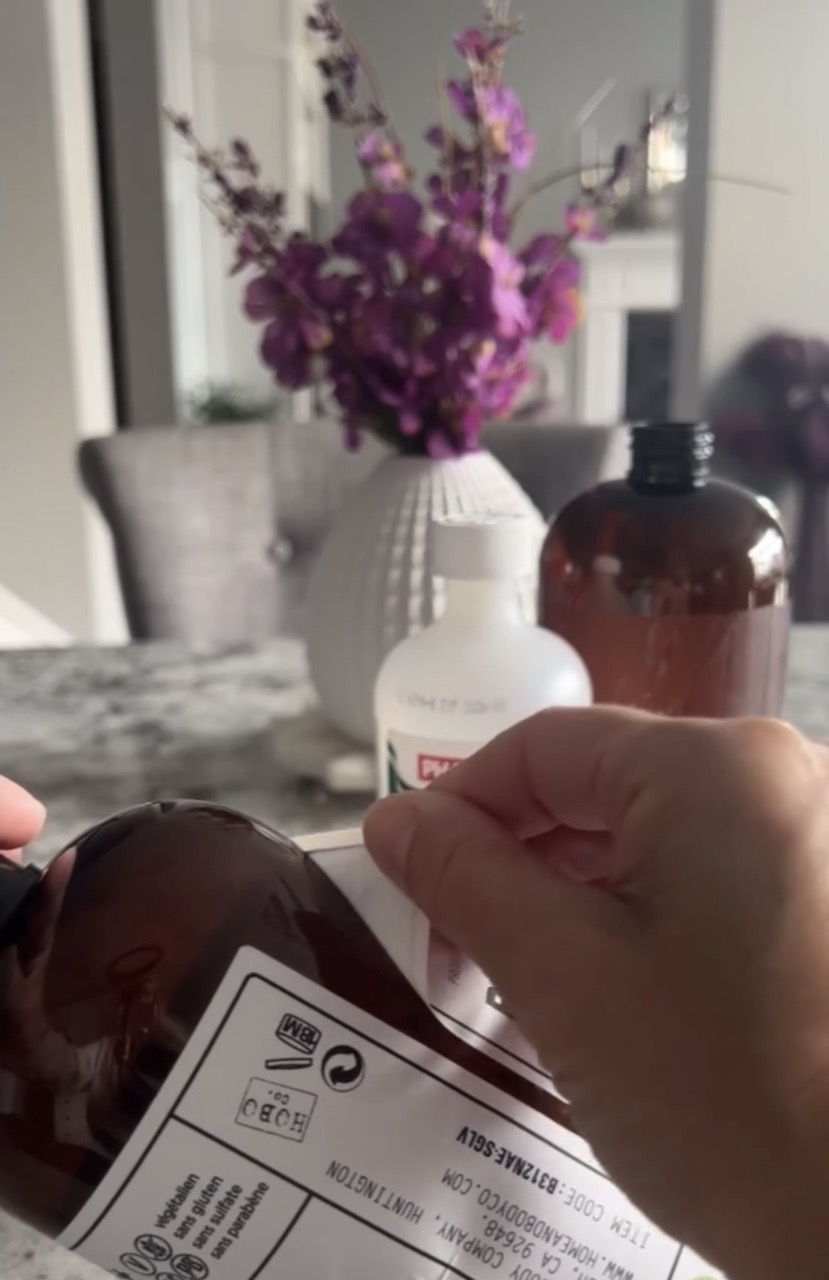
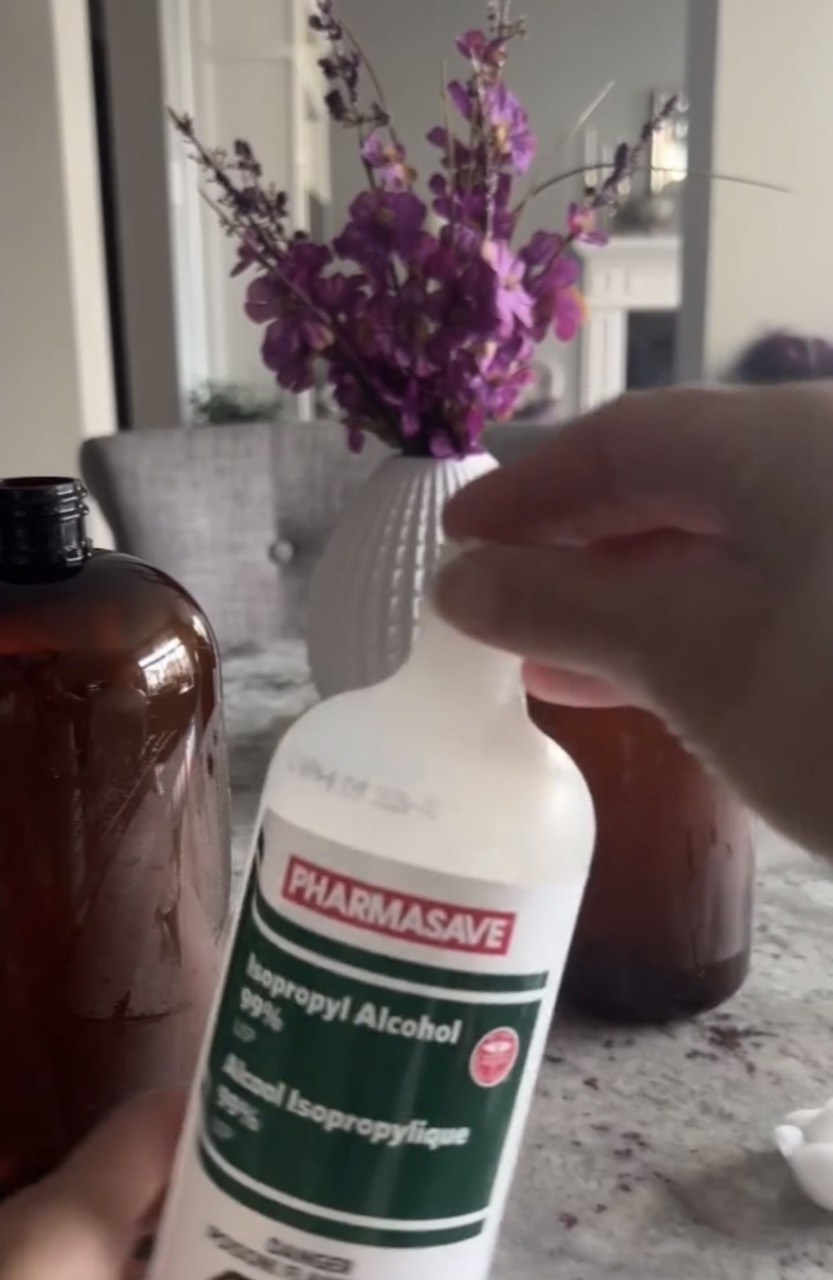
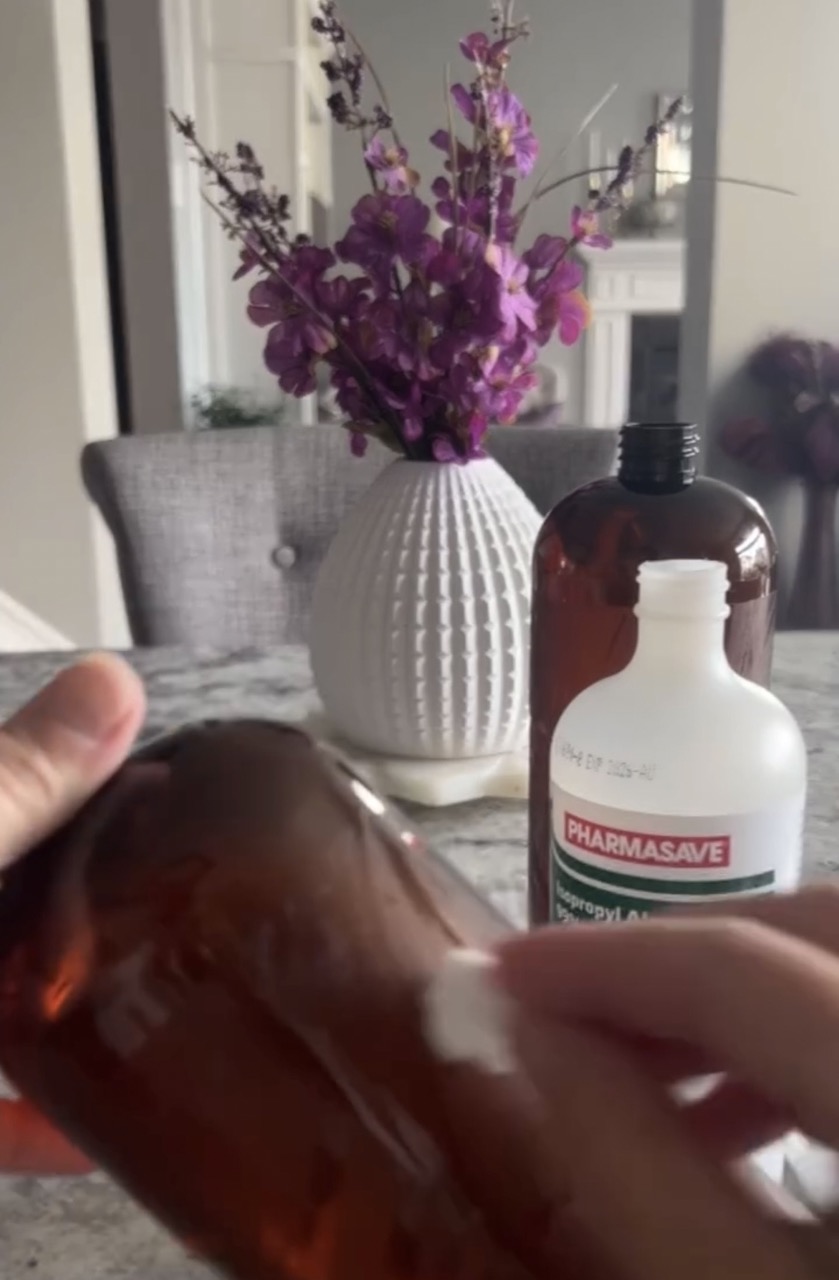
Next, wipe away any remaining glue residue (I used rubbing alcohol) and pat bottles dry.
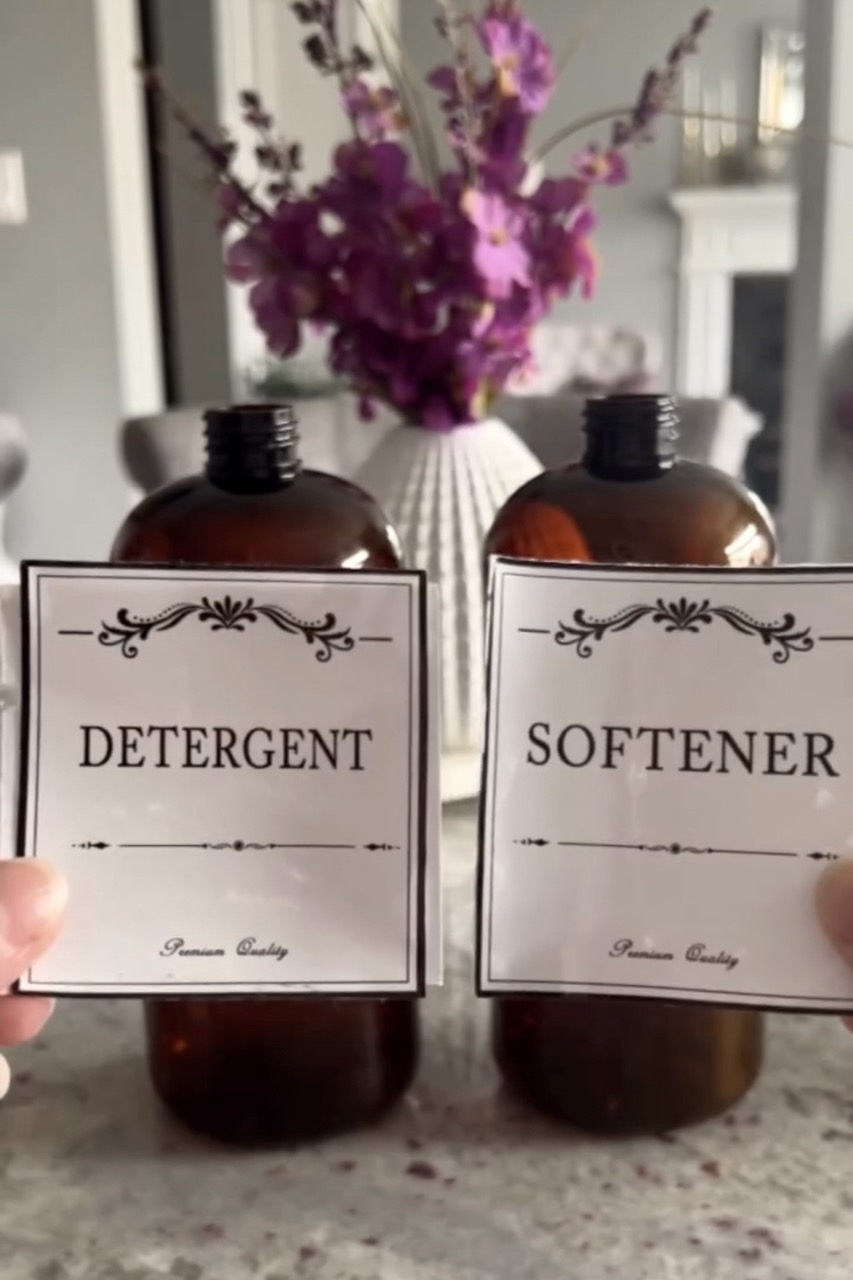
Then attach waterproof labels by removing backing and sticking them in place. (Equally important is to keep the bottles side by side to ensure the labels line up well.)
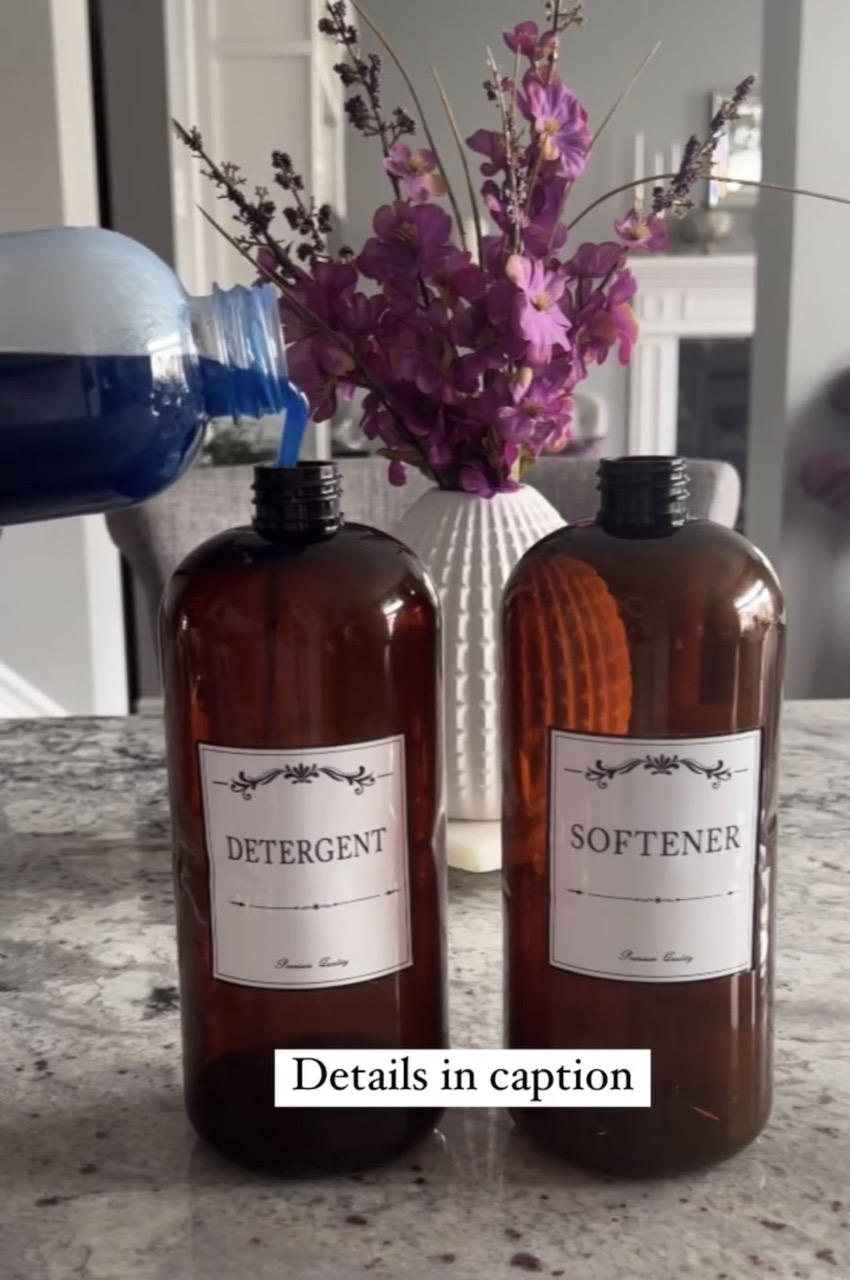
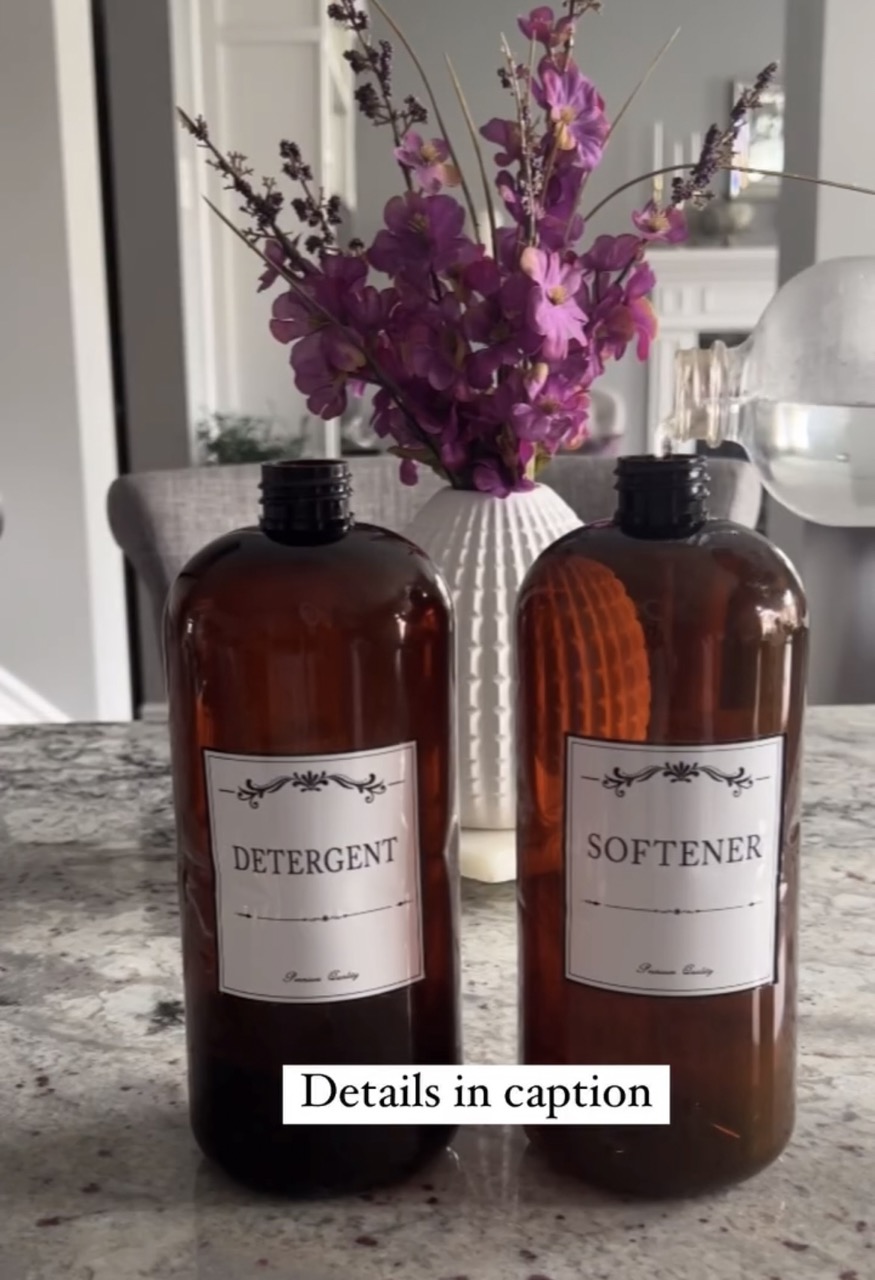
Finally, fill bottles with detergent, fabric softener or any other liquid supply.
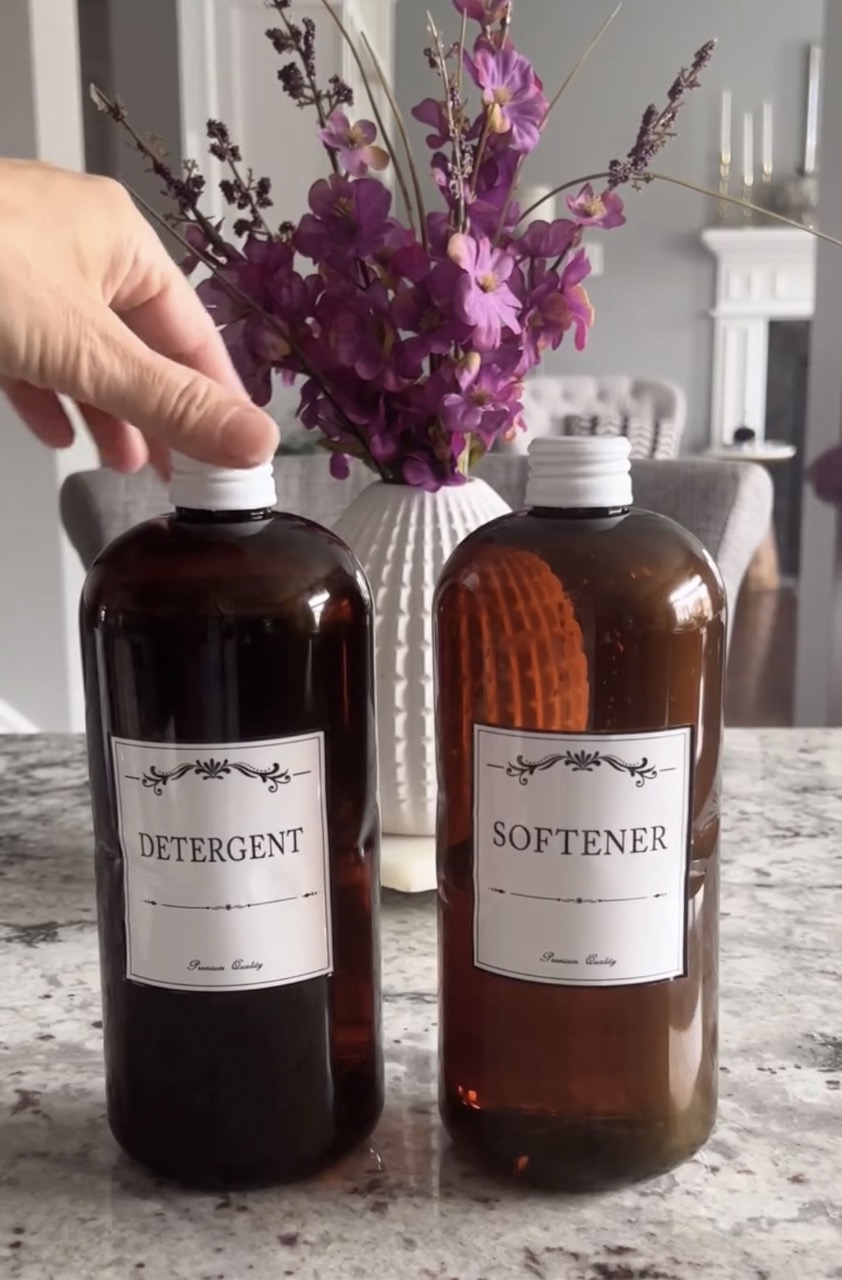
Bonus tip:
If your old bottles came with pumps, you can switch them out for twist on caps. My white caps were from empty wine bottles and I can’t think of a better excuse to go buy more wine LOL.
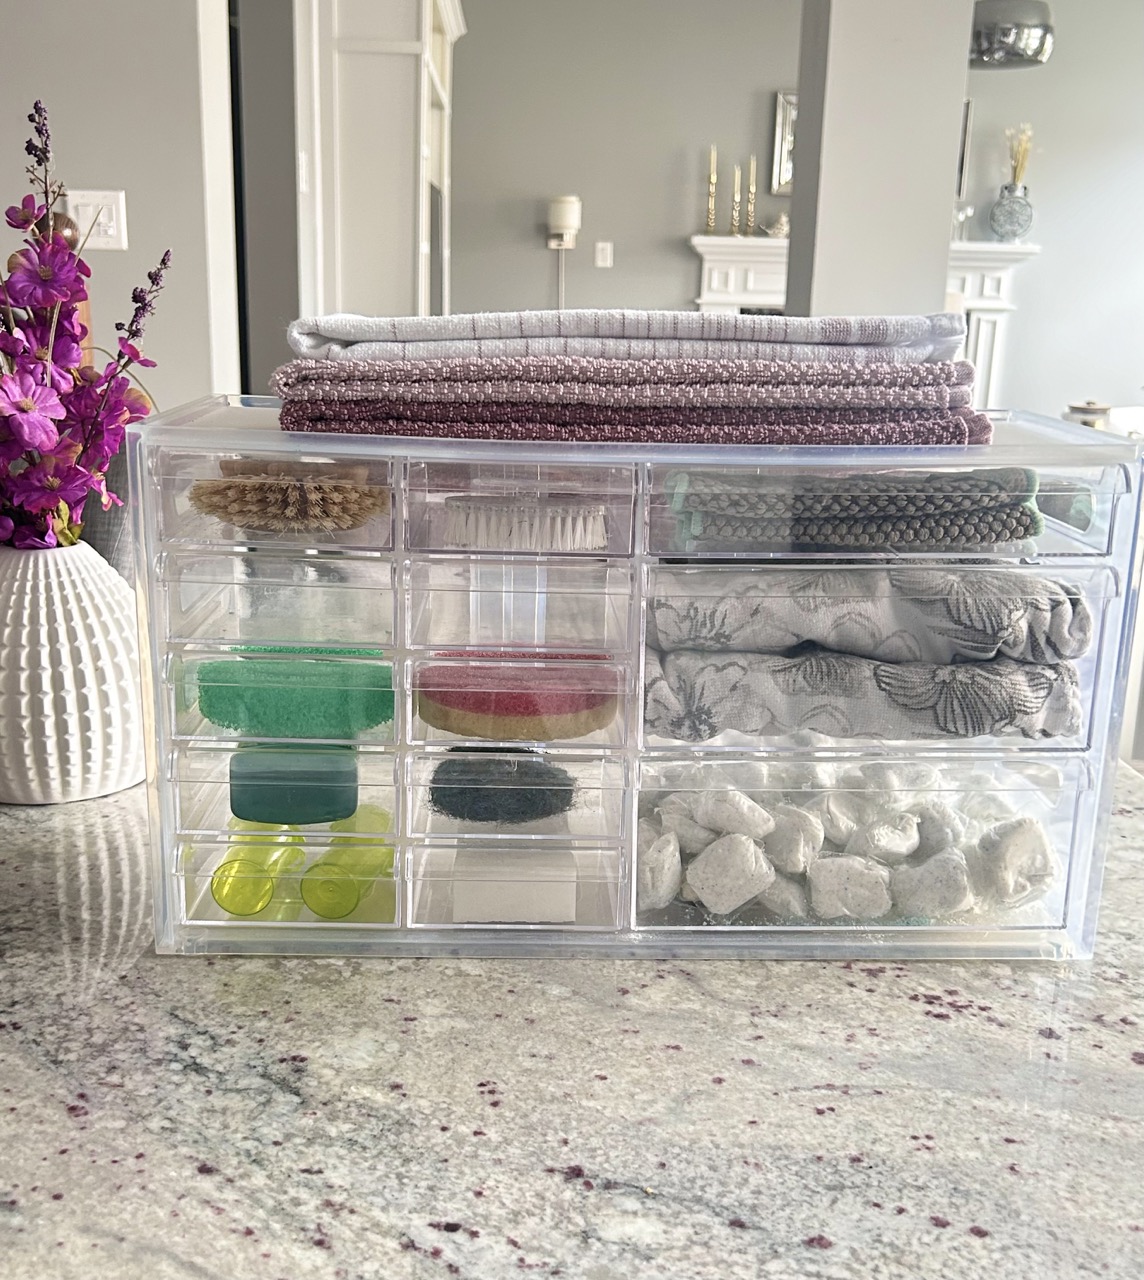
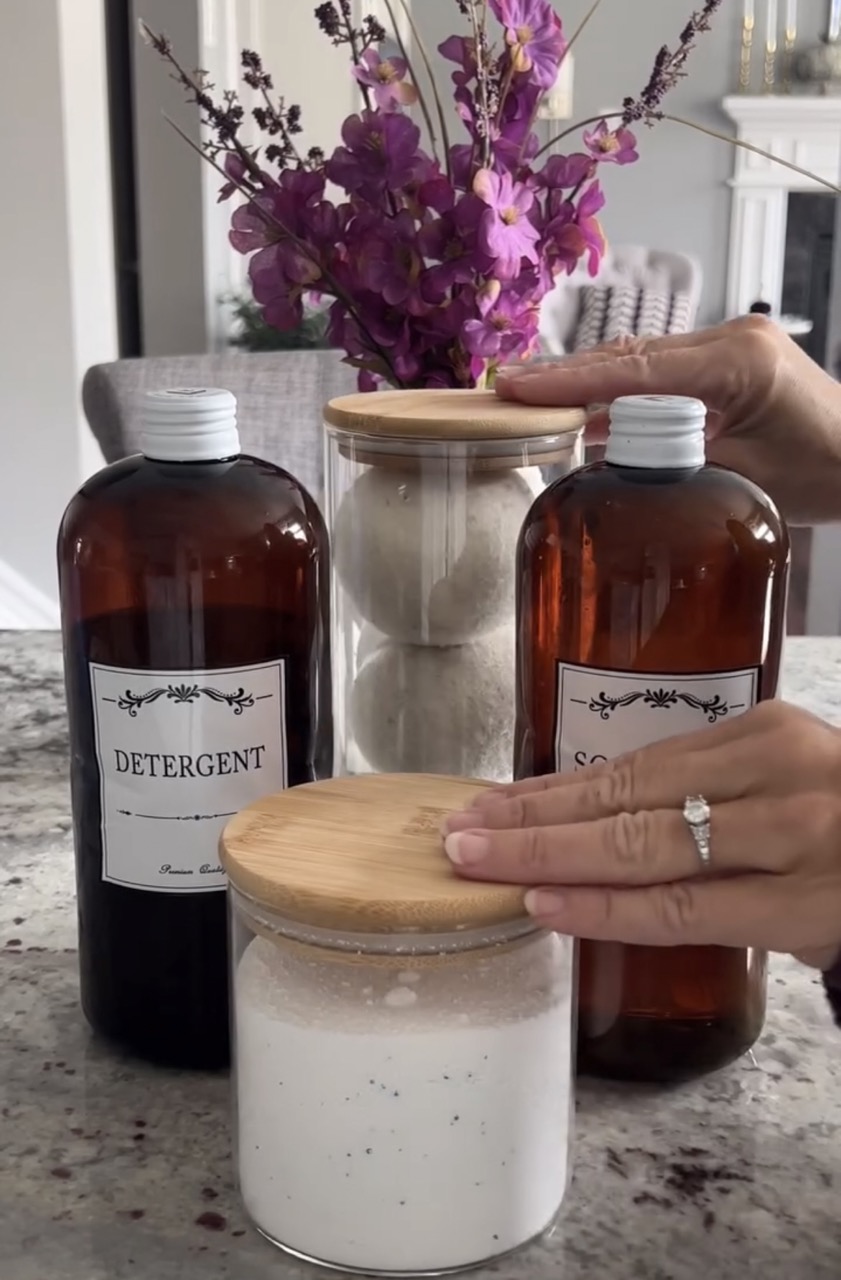
Lastly, to complete the pretty organic look, I added affordable supply jars from the partner post DIY bamboo & glass jars for the laundry room.
Looking for more laundry room inspo? Check out our DIY Small laundry room makeover.
In the end, these budget friendly DIY bottles were a “zero dollar – 100% leftover stuff” kind of project. (which is my favourite kind).
What a fun and easy DIY project that added pretty and affordable organization to the laundry room. I guess I better actually get some folding done now.
Check out Good Housekeeping’s 52 laundry room ideas for small spaces.
More Organization ideas
If you liked the DIY detergent bottles idea, you might also like these other Organization projects.